Agents
How to create and configure agents with a few clicks.
Create an agent
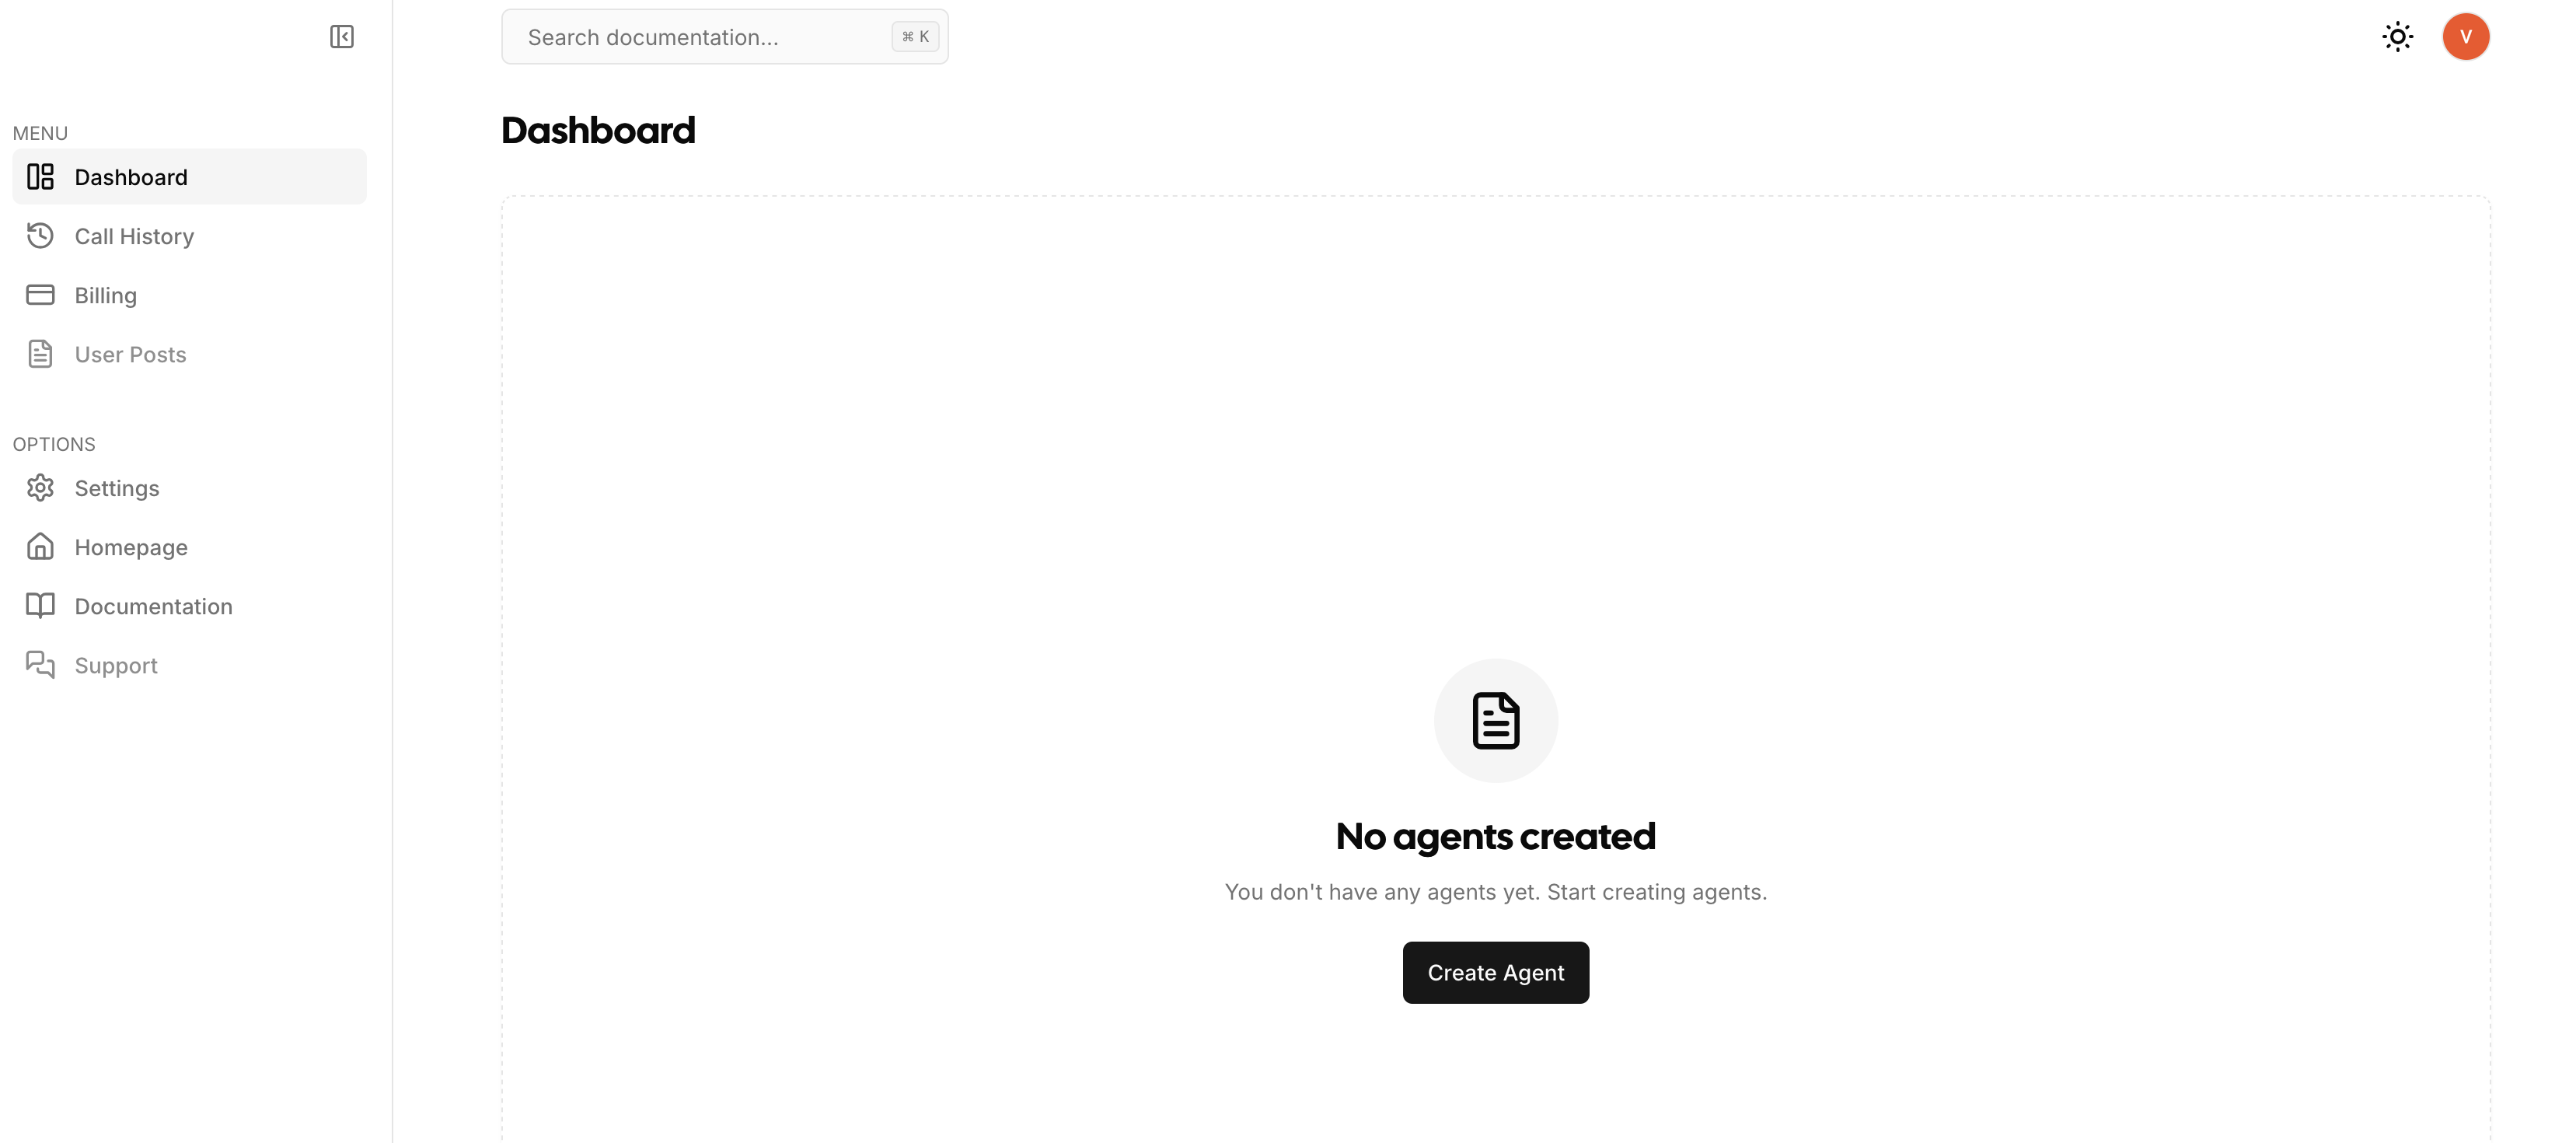
Once you are logged in, you will see a page like this where you can start using VoxGrow by creating your first Voice AI agent. Click on the "Create Agent" button to start.
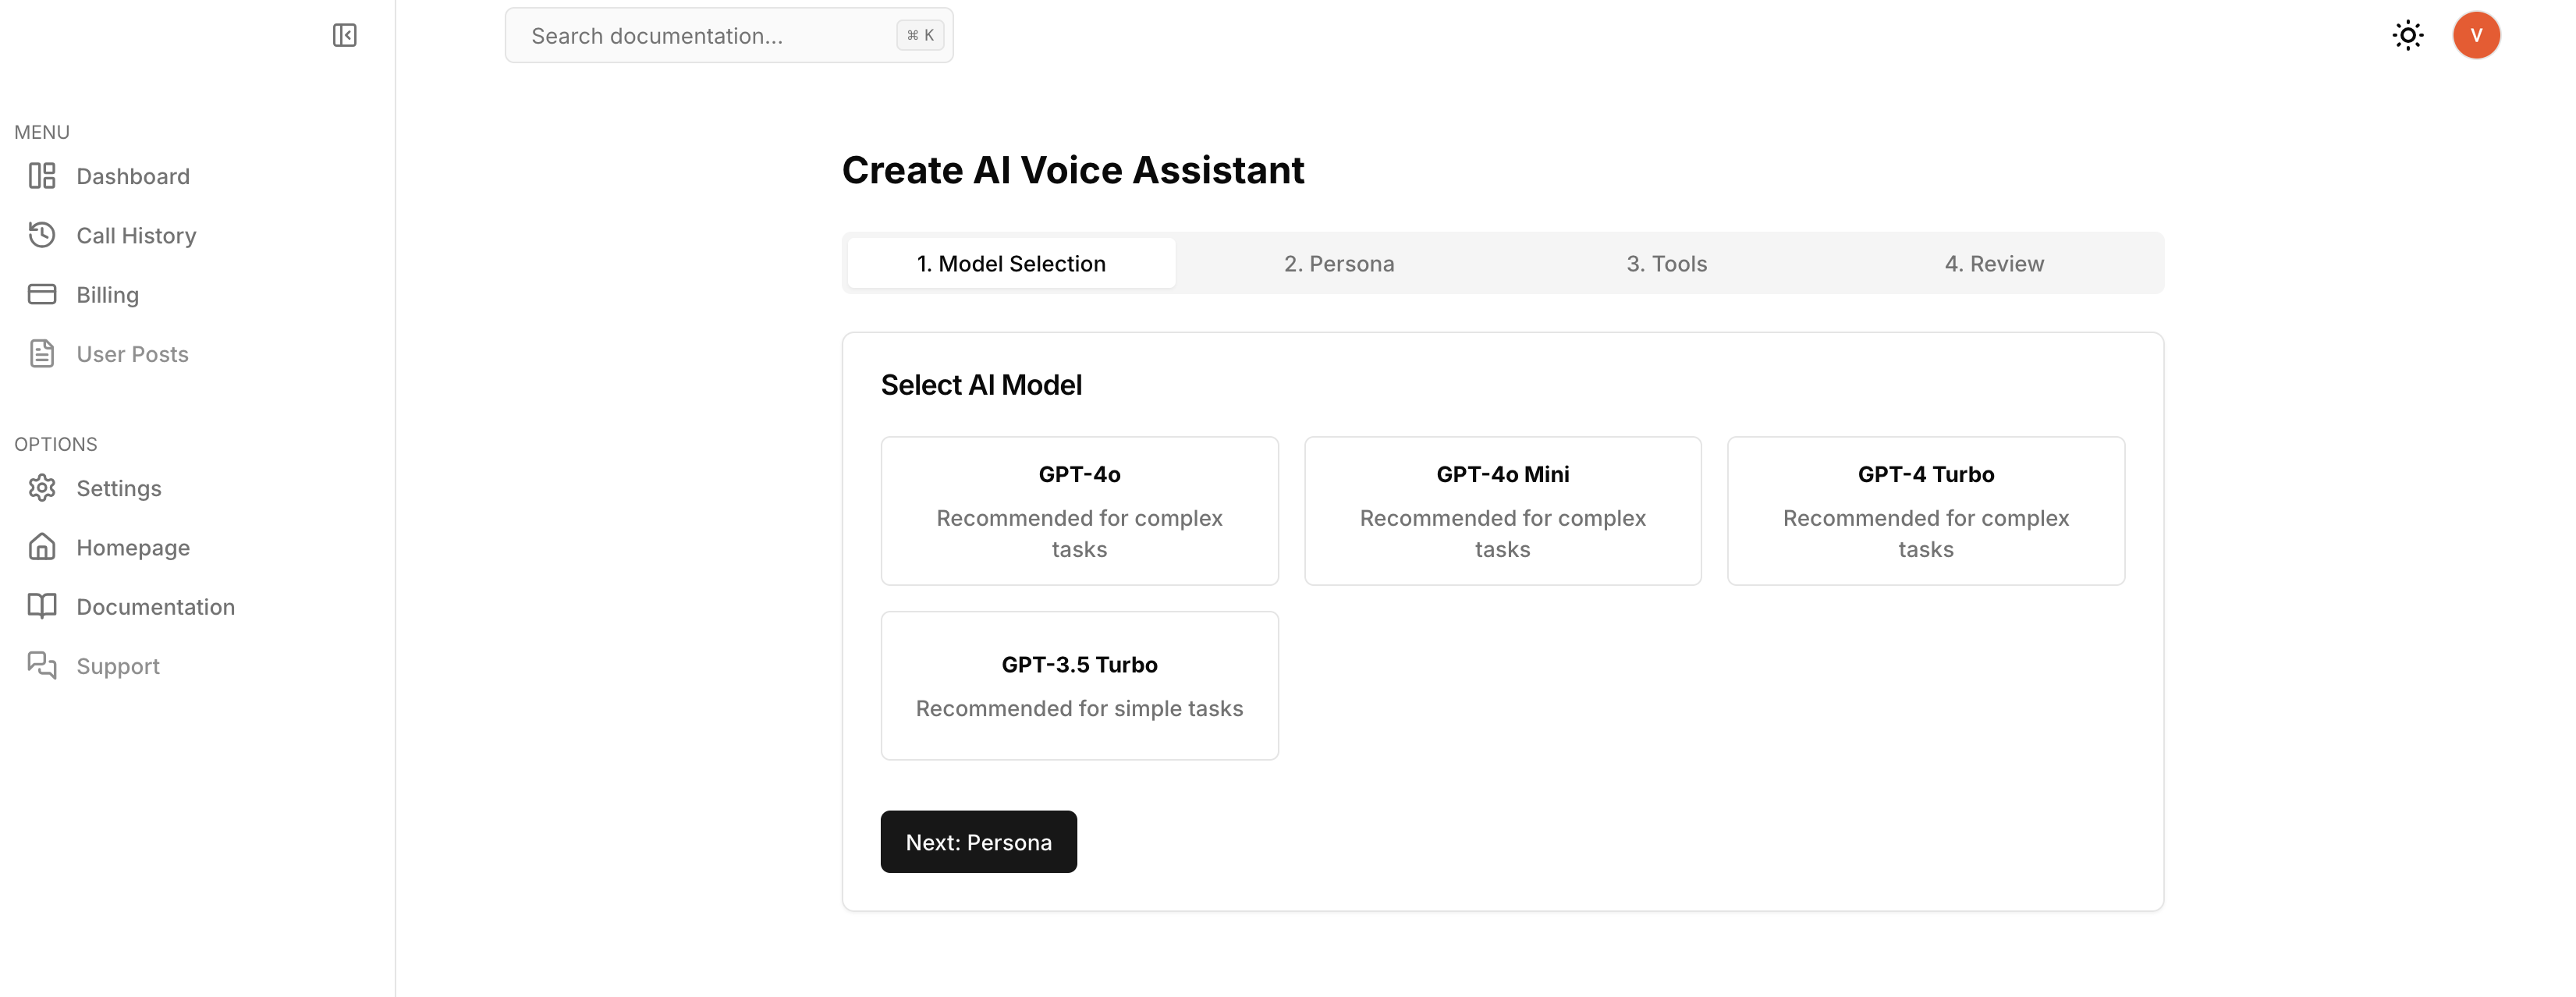
Choose an LLM
You will be asked to choose an LLM for your agent. For now, we only support OpenAI models. We recommend using the gpt-4o-mini model for optimal performance and lower latency.
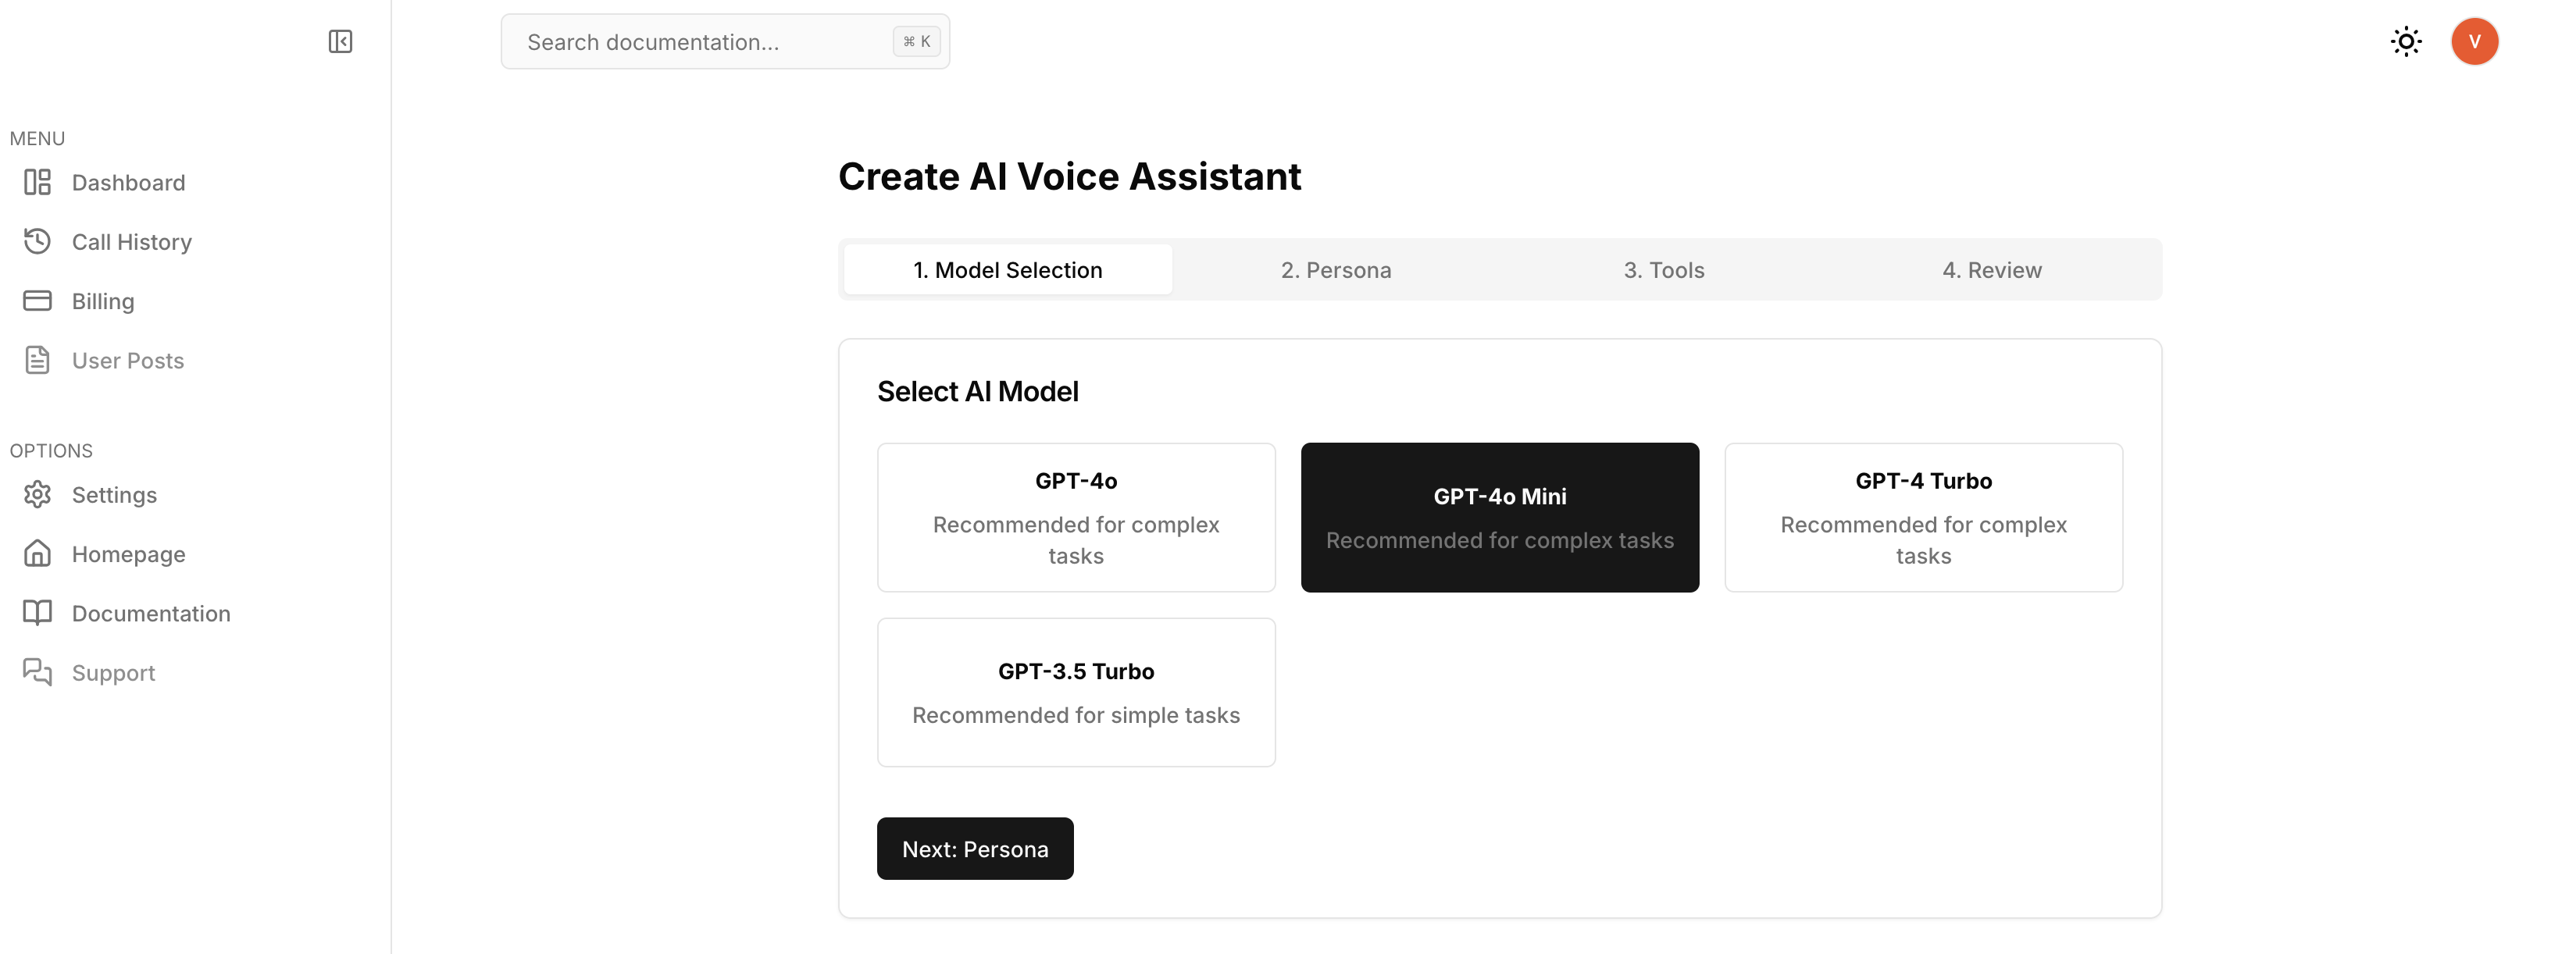
Here, let's choose the gpt-4o-mini model.
Provide a name for your agent
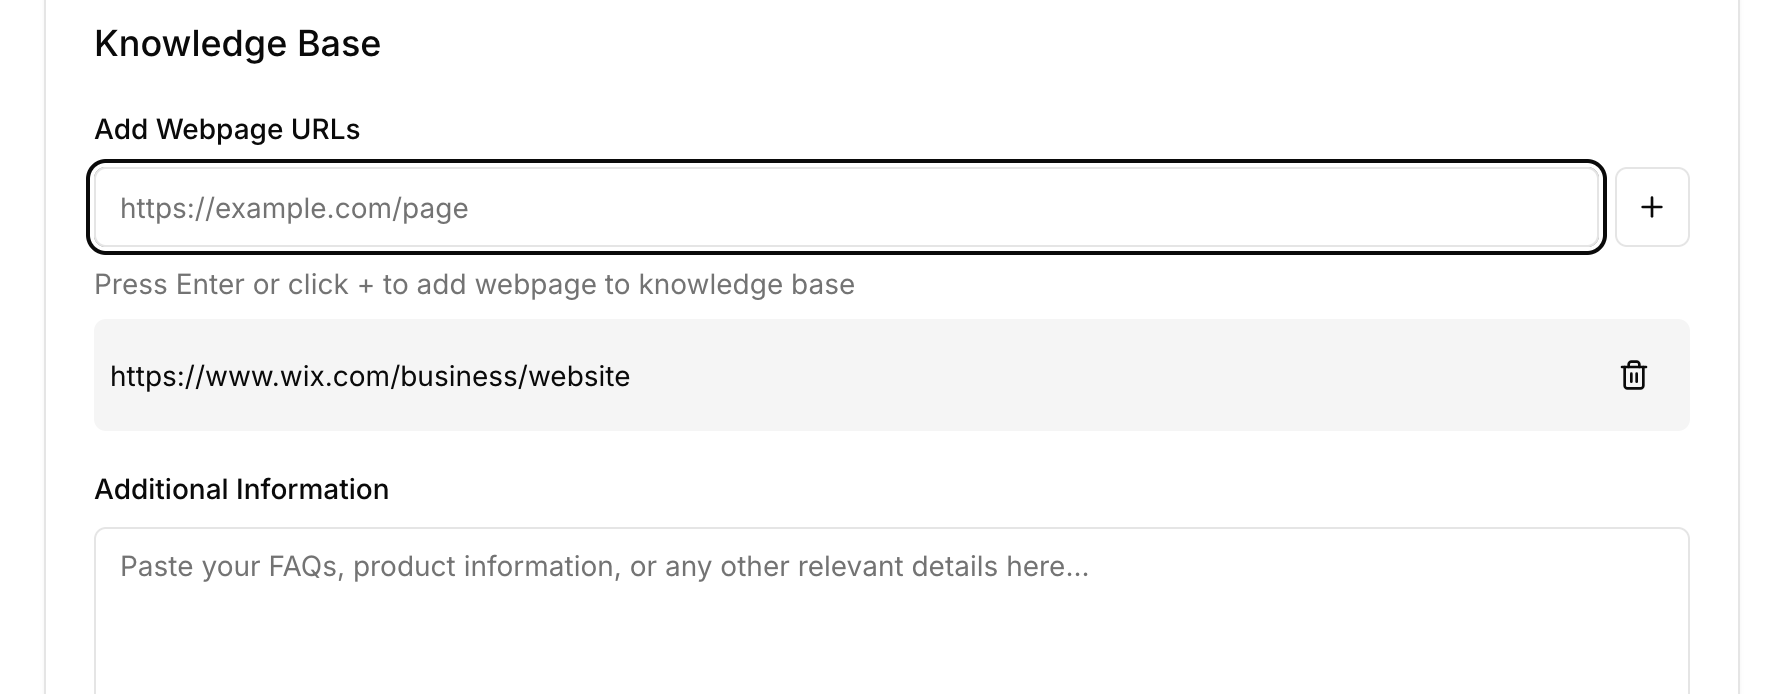
It's mandatory to provide a knowledge base for your agent in the form of a website URL, PDF, or a text you can copy paste in to the text box. This knowledge will be used to provide context to the LLM to answer the customer's questions. Here, we will provide an example URL to a website that will be used to build the knowledge base. Replace it with your own website URL.
Once you have chosen the model, you will be asked to provide a name for your agent. This name will be used to identify your agent in the dashboard.
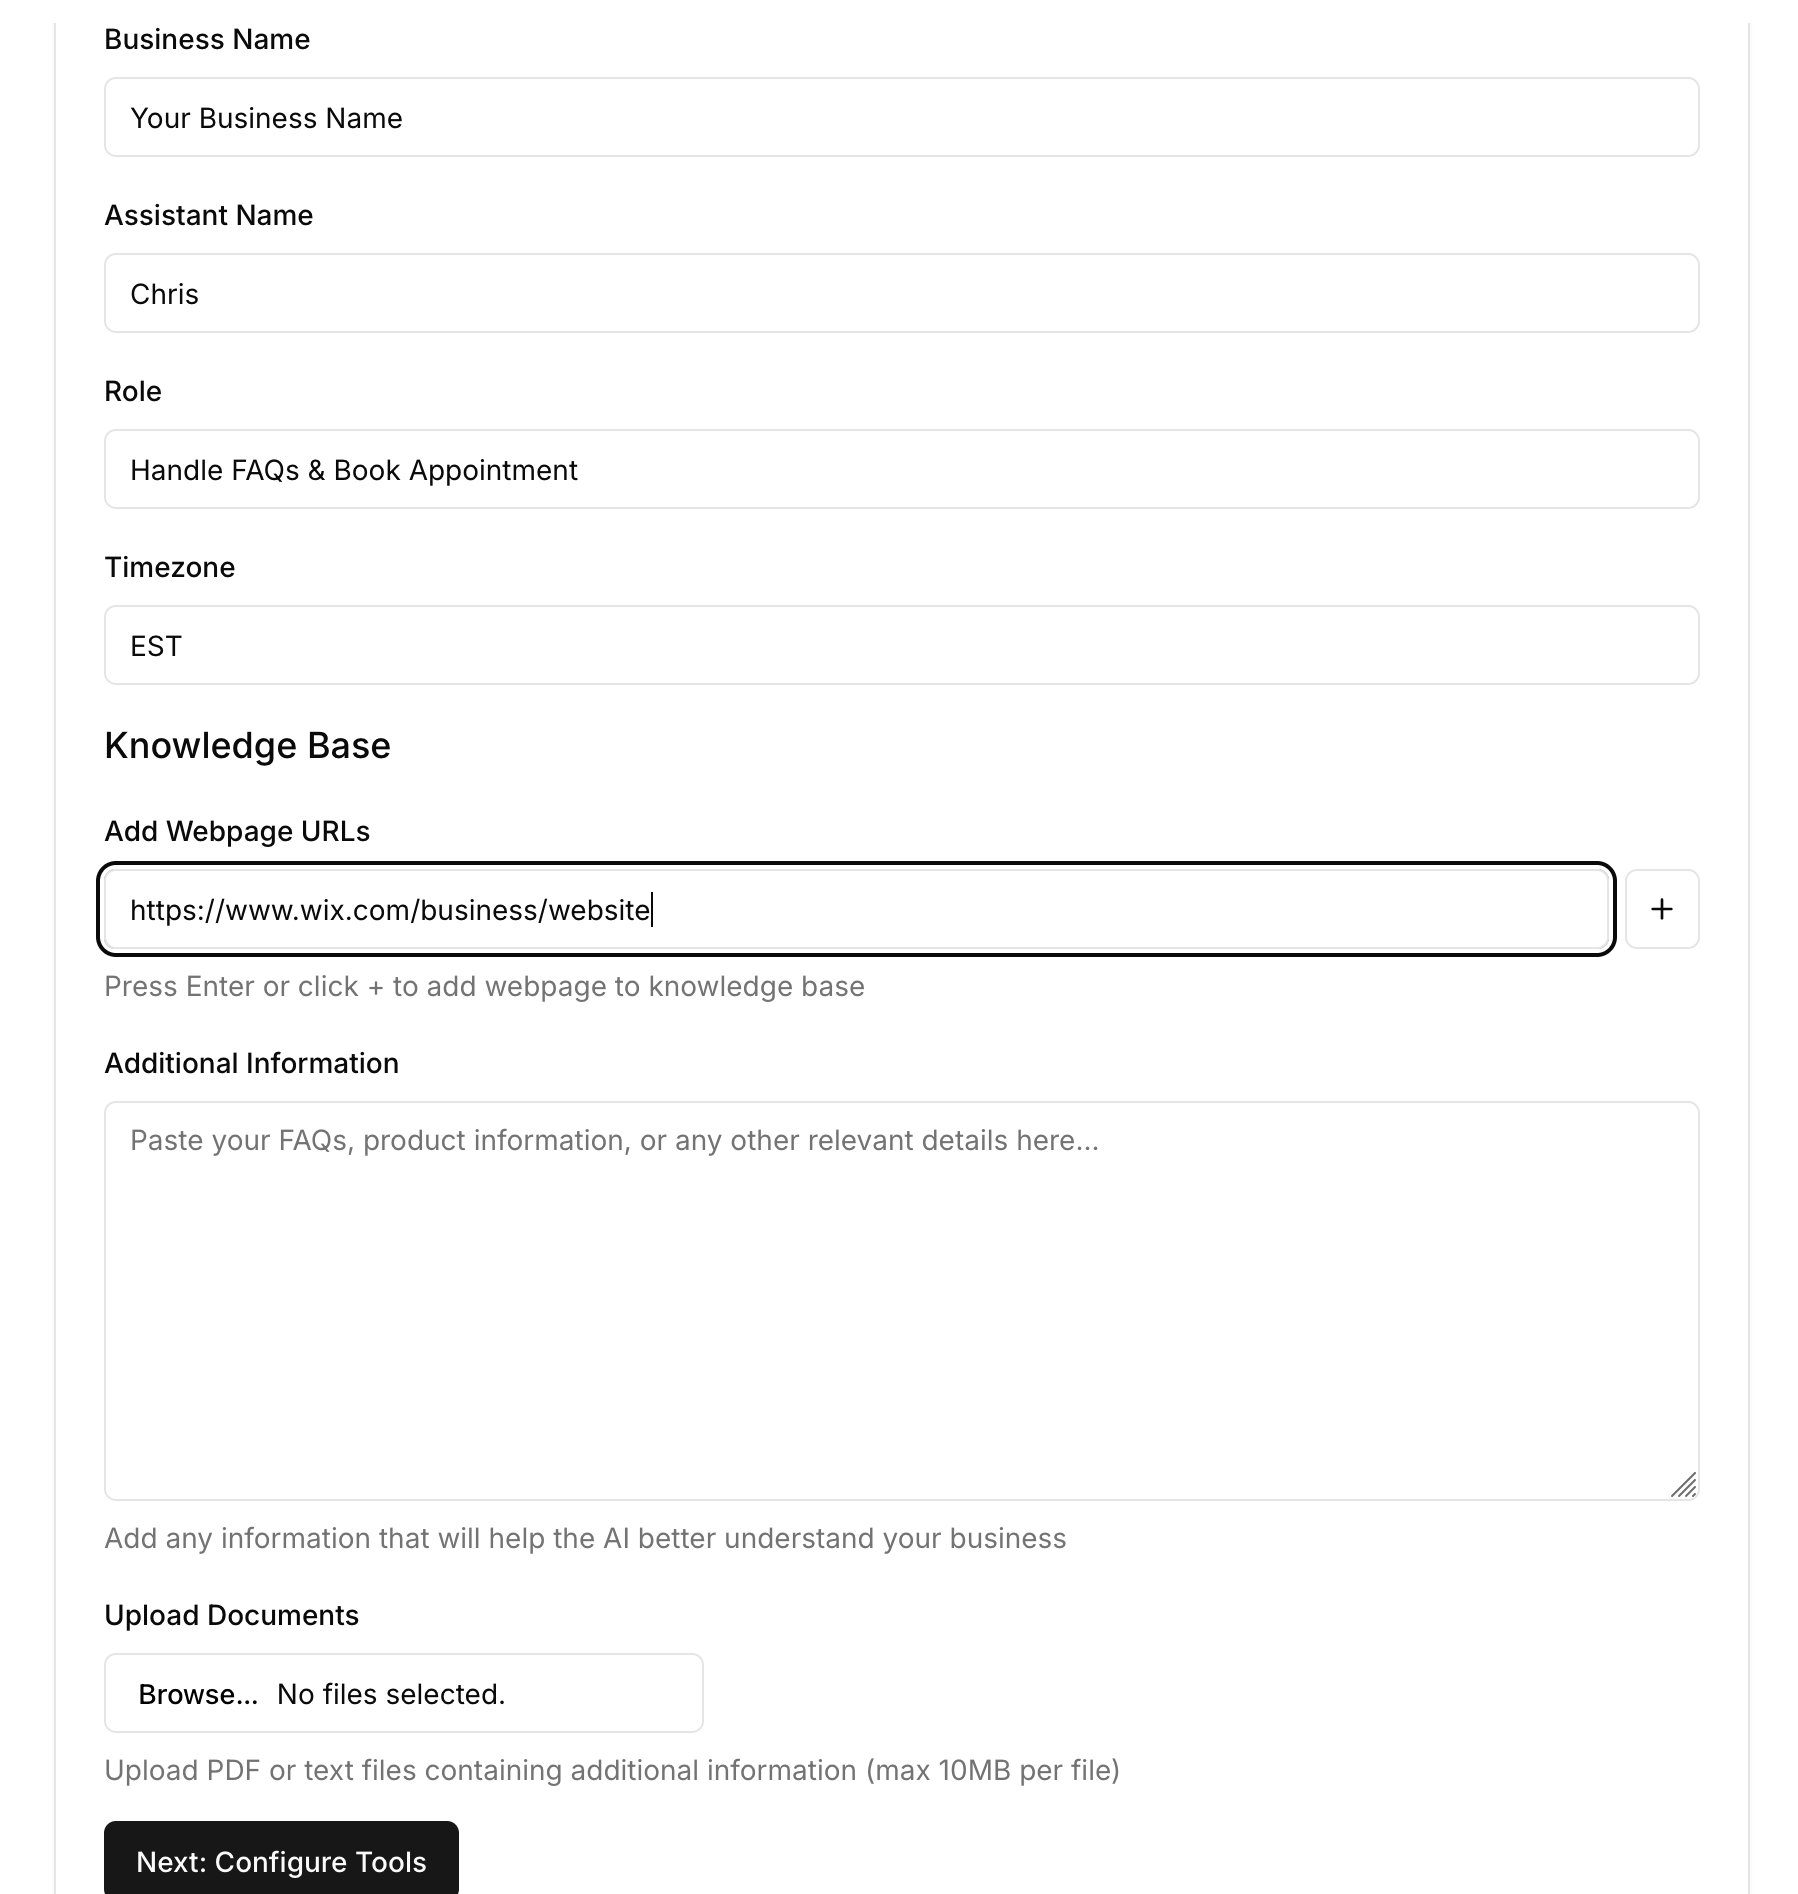
Once you provide the knowledge base URL and hit enter, you will see the knowledge base URL updated like this.
Click on Next: Configure Tools to continue.
Cal.com setup
First, we need to setup the cal.com account to be able to use it as a tool for the VoxGrow agent.
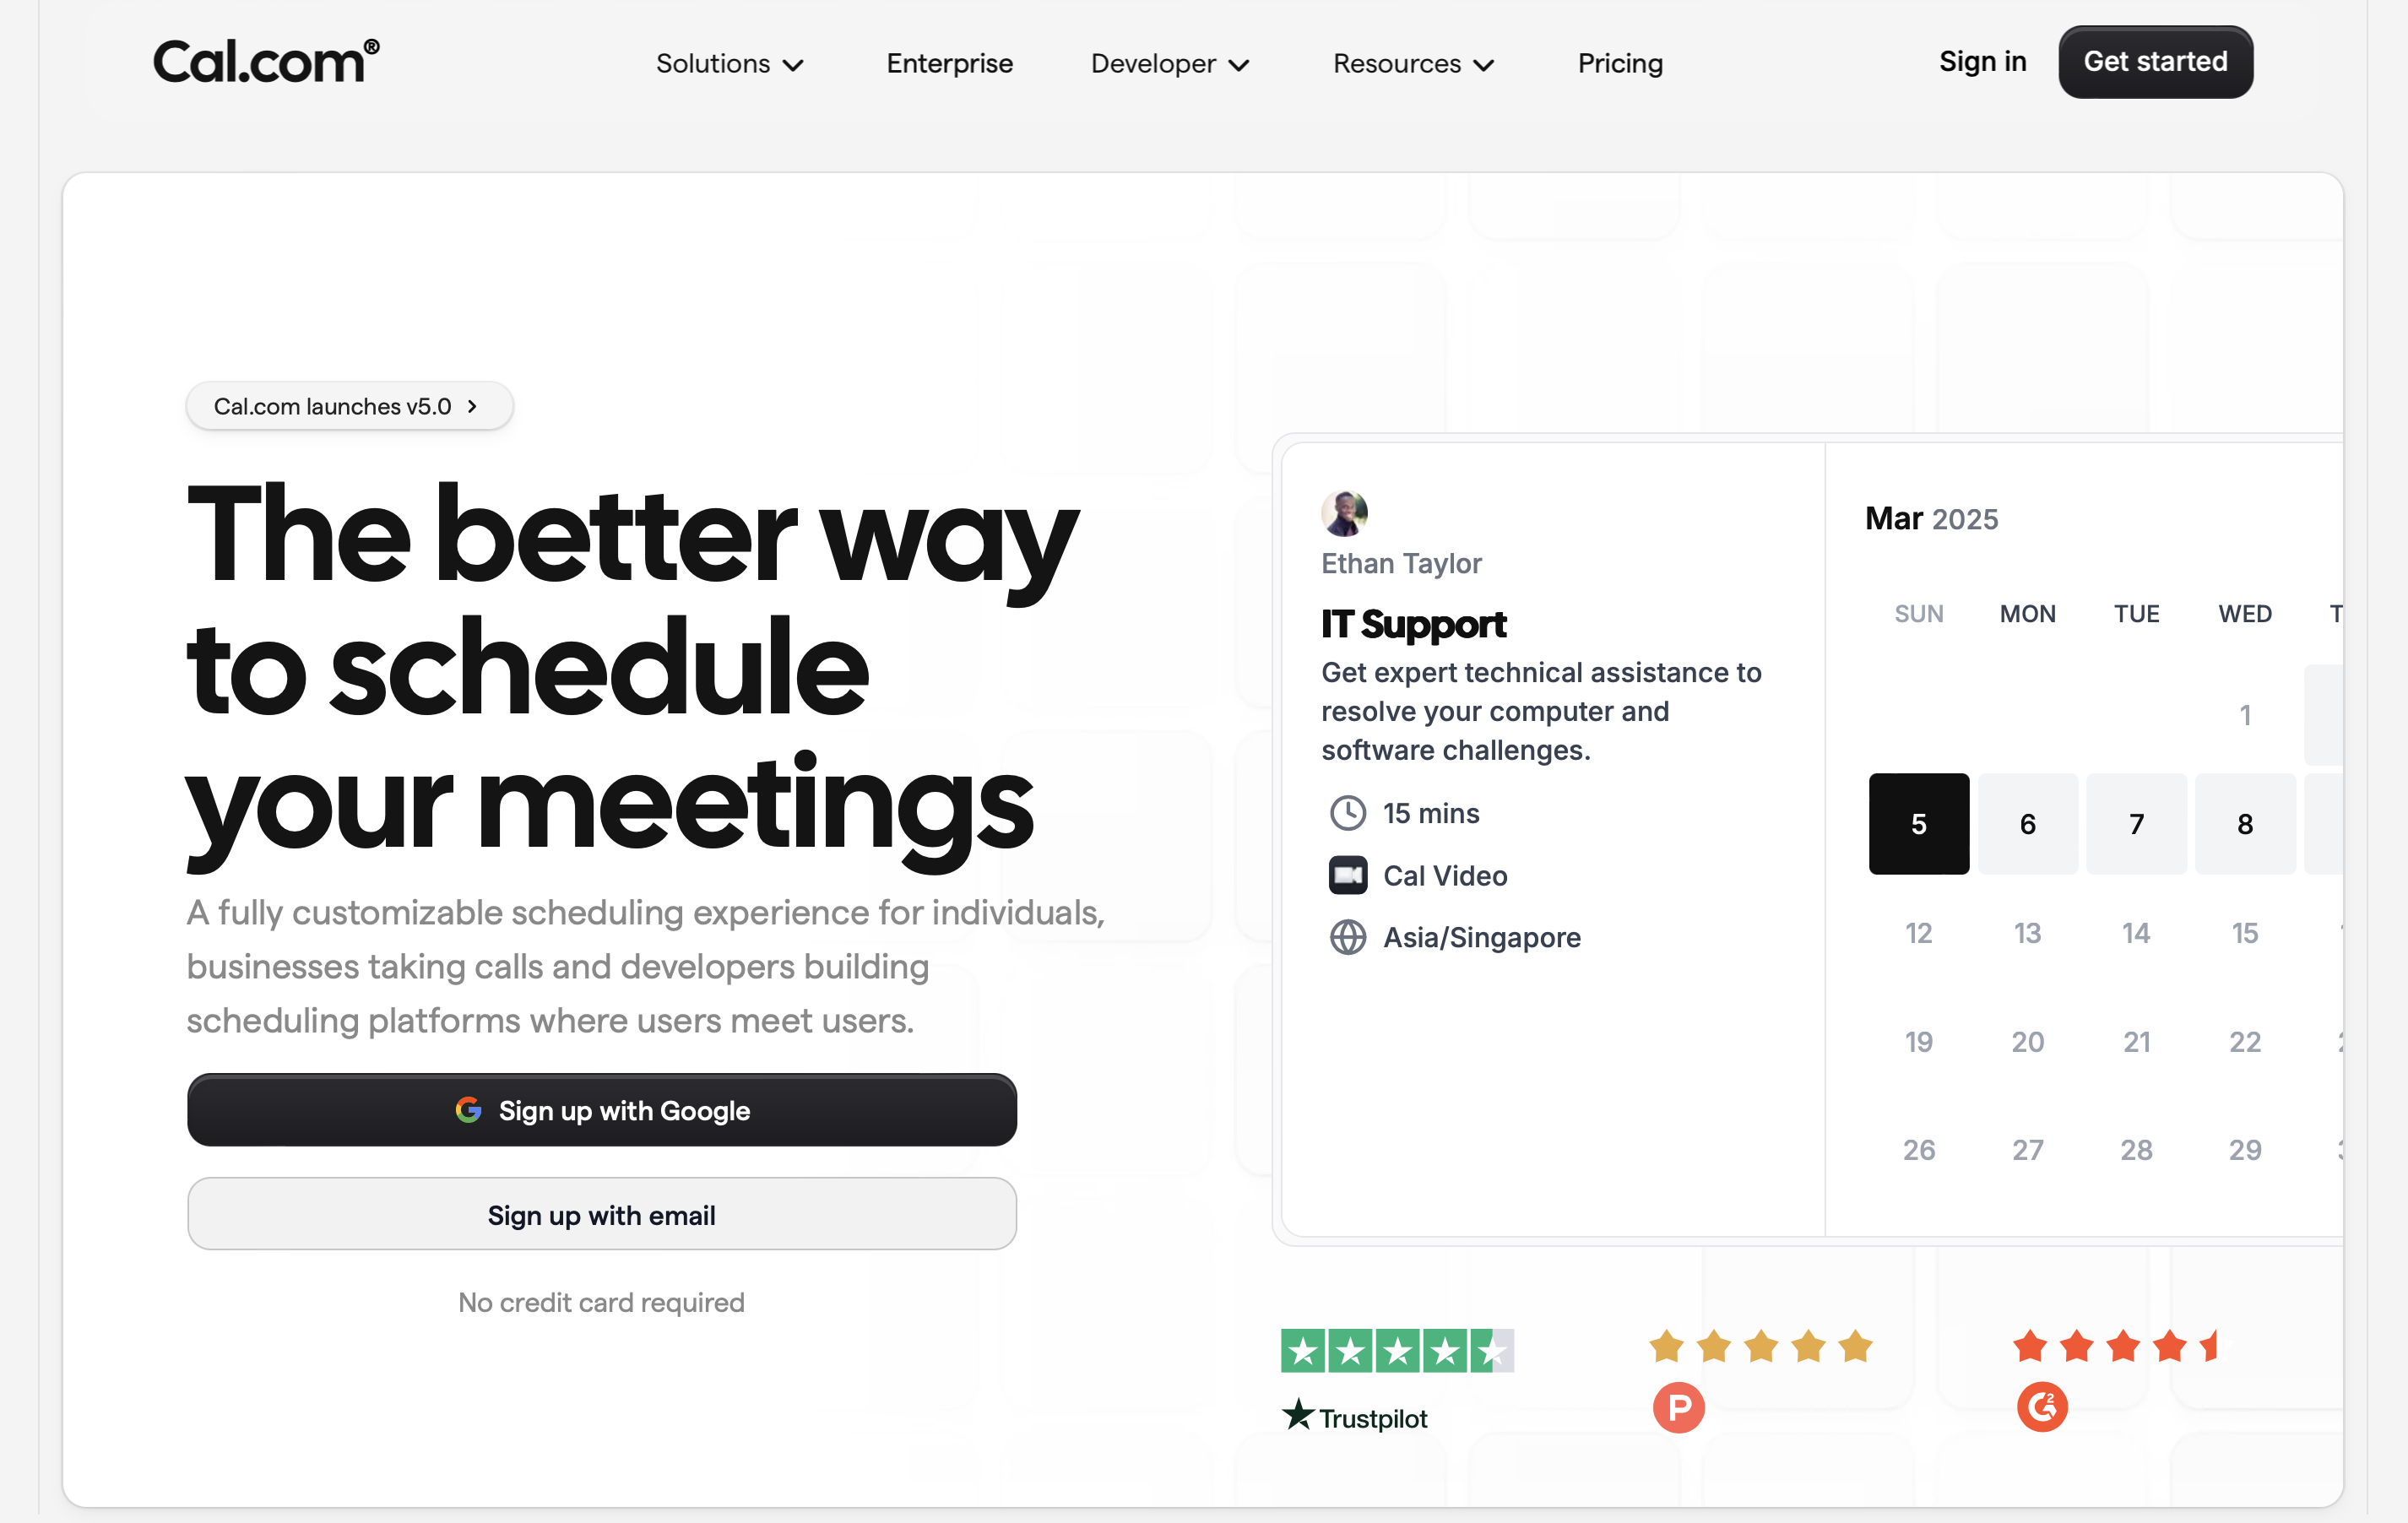
Login to your cal.com account using your Gmail account. You will be asked to provide access to google calendar. This is convenient if you want to keep your google calendar synced with your calander on cal.com account.
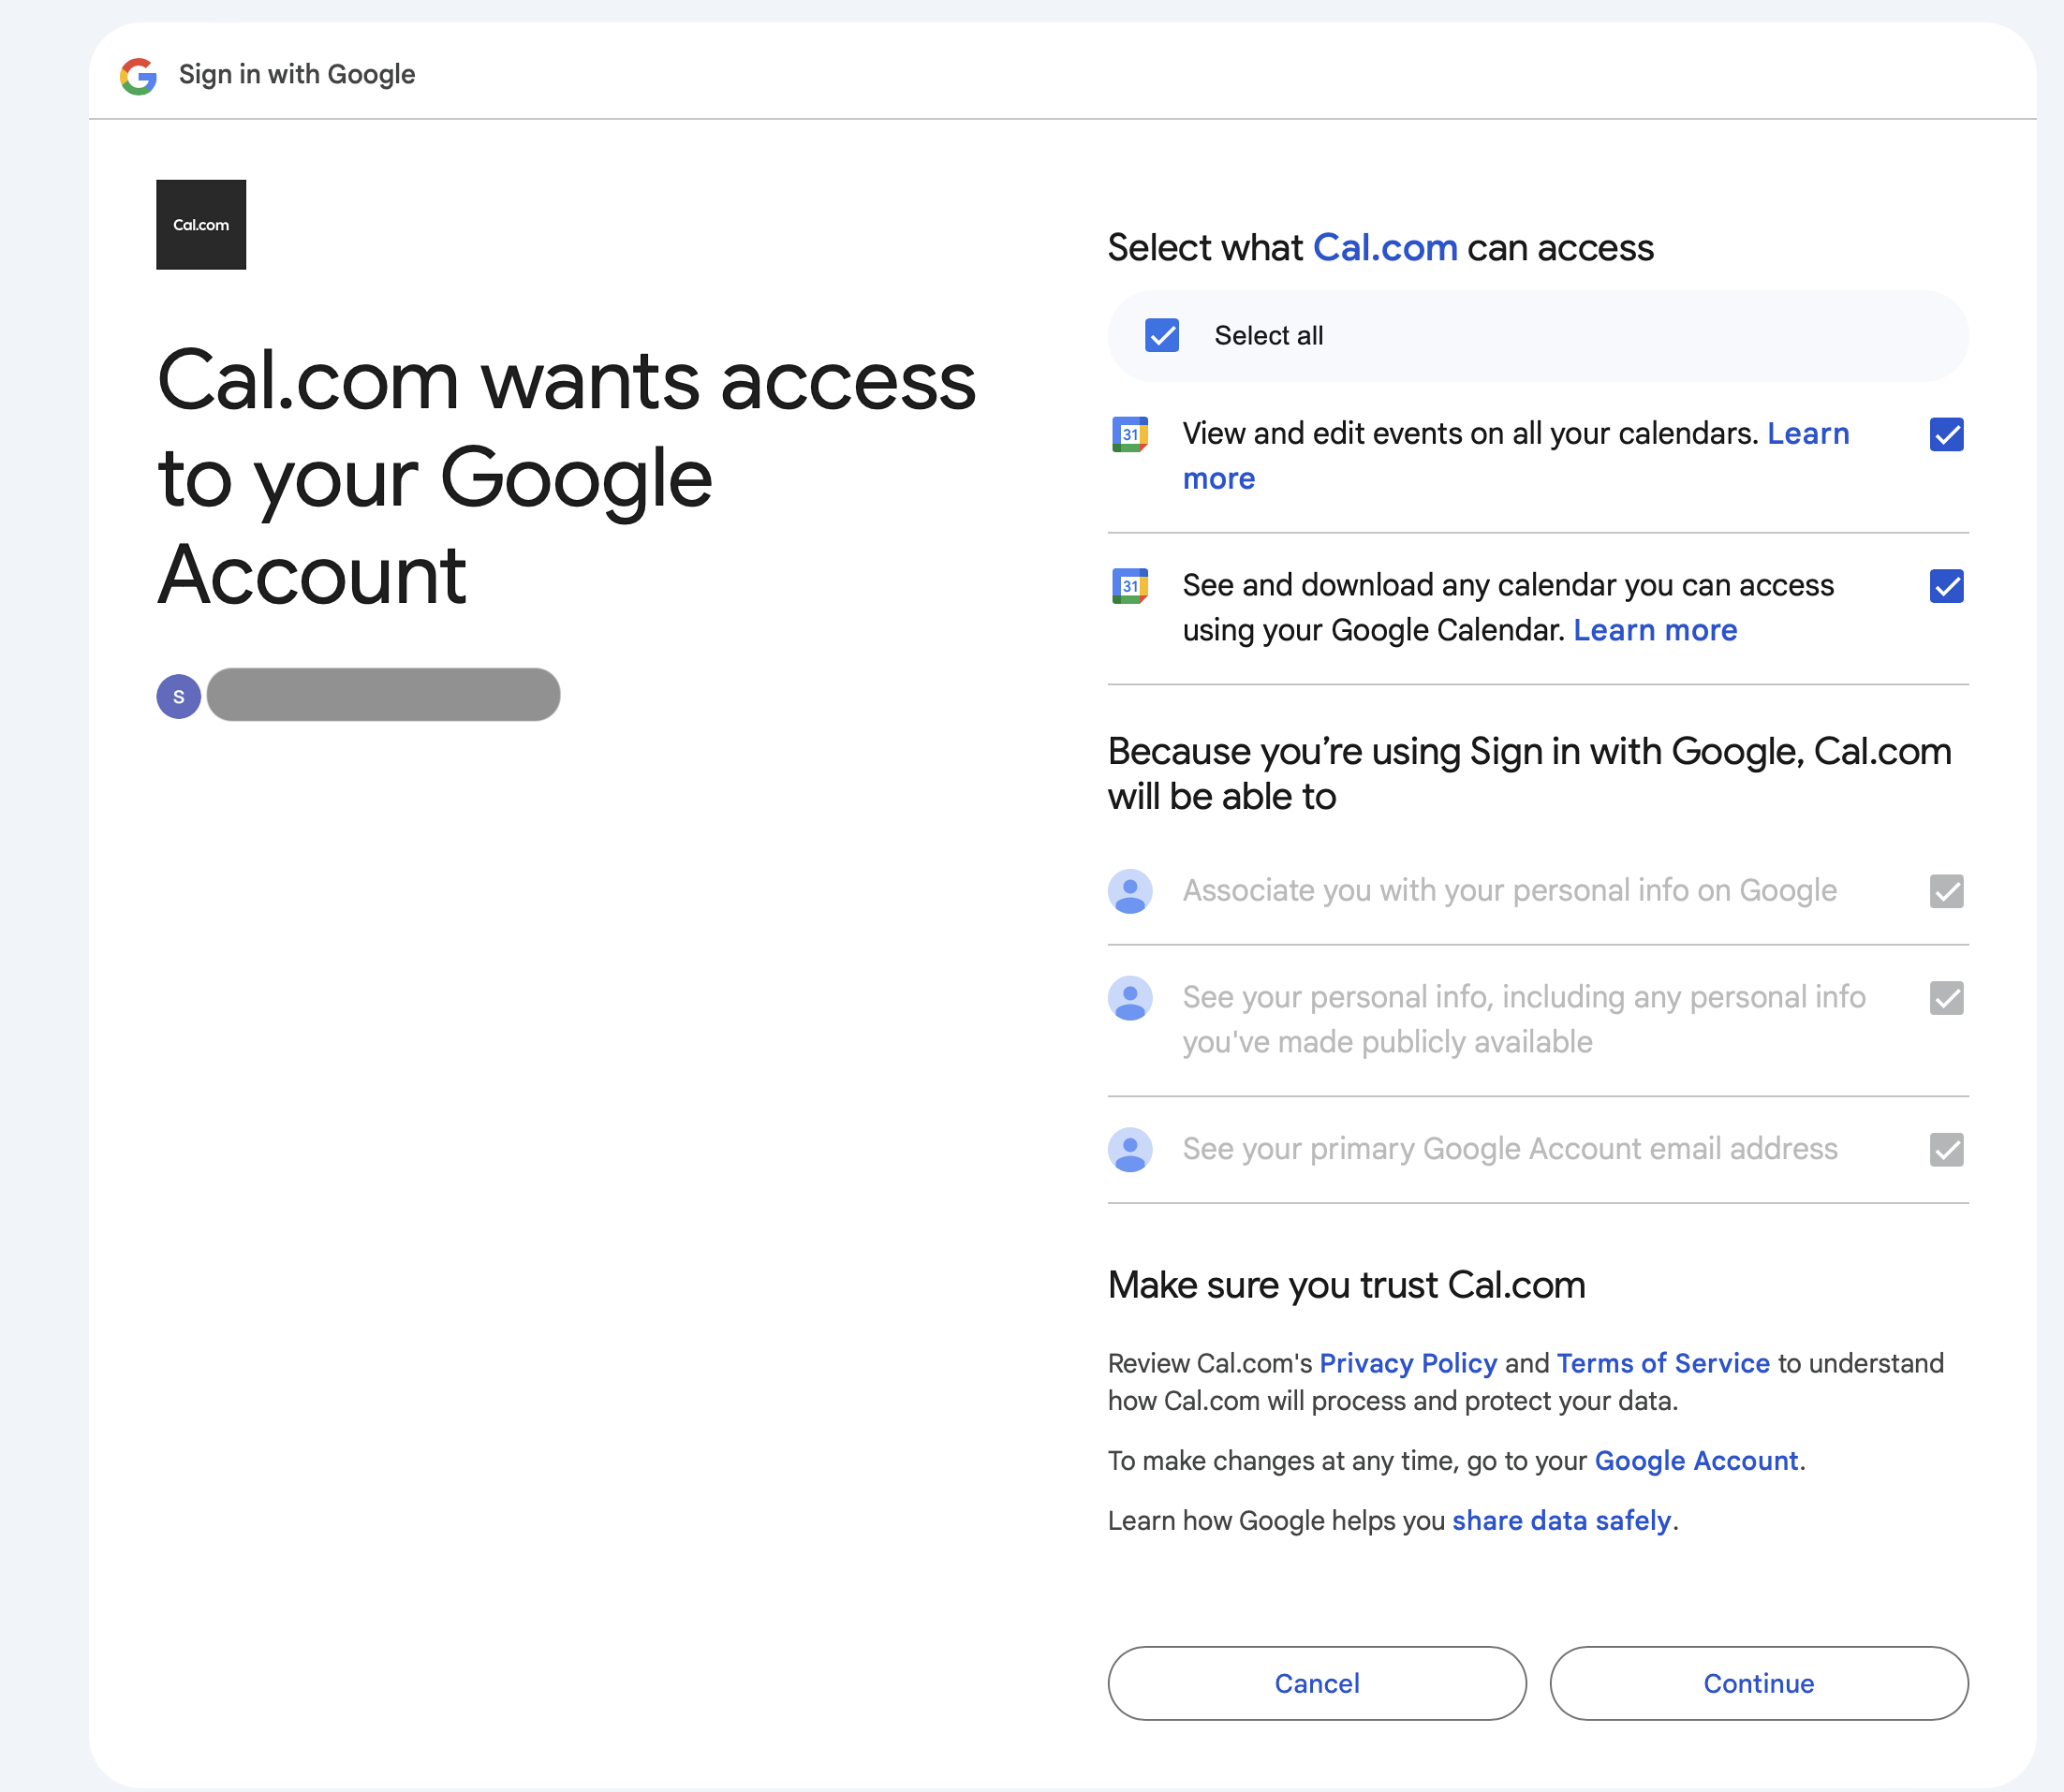
Click on continue and you will be redirected to the next page.
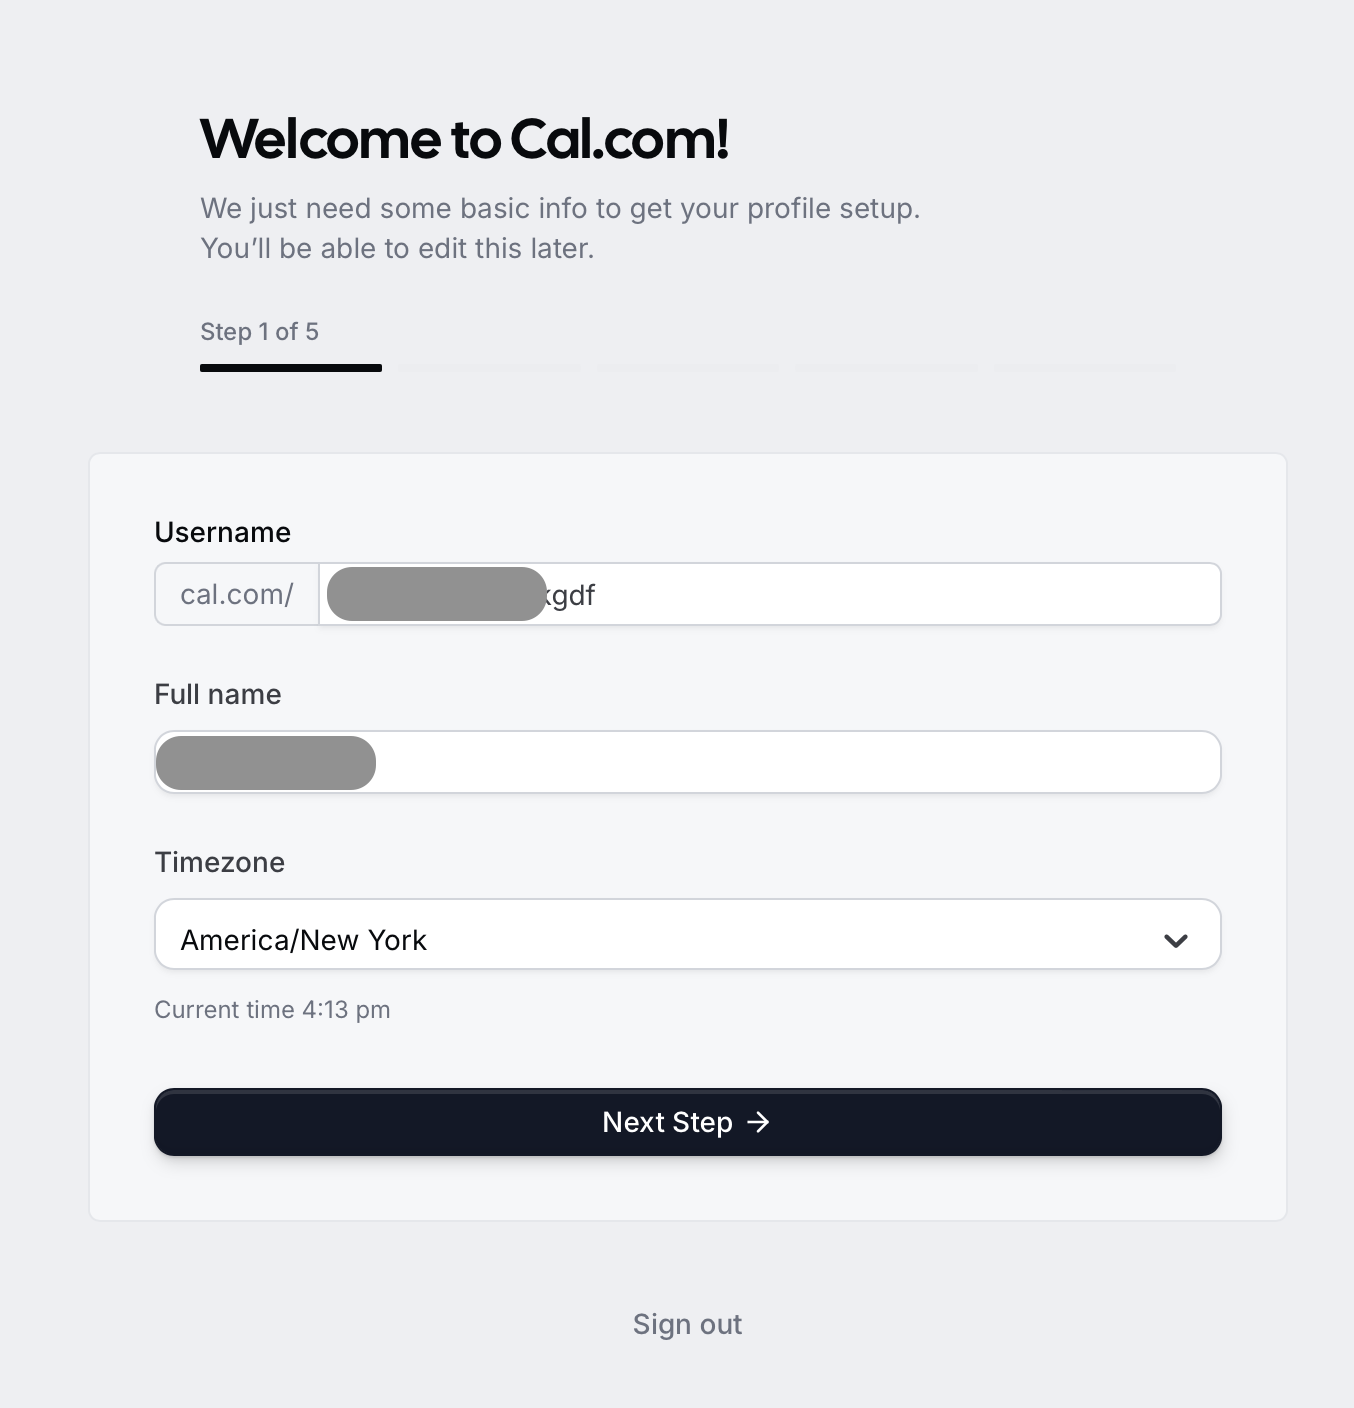
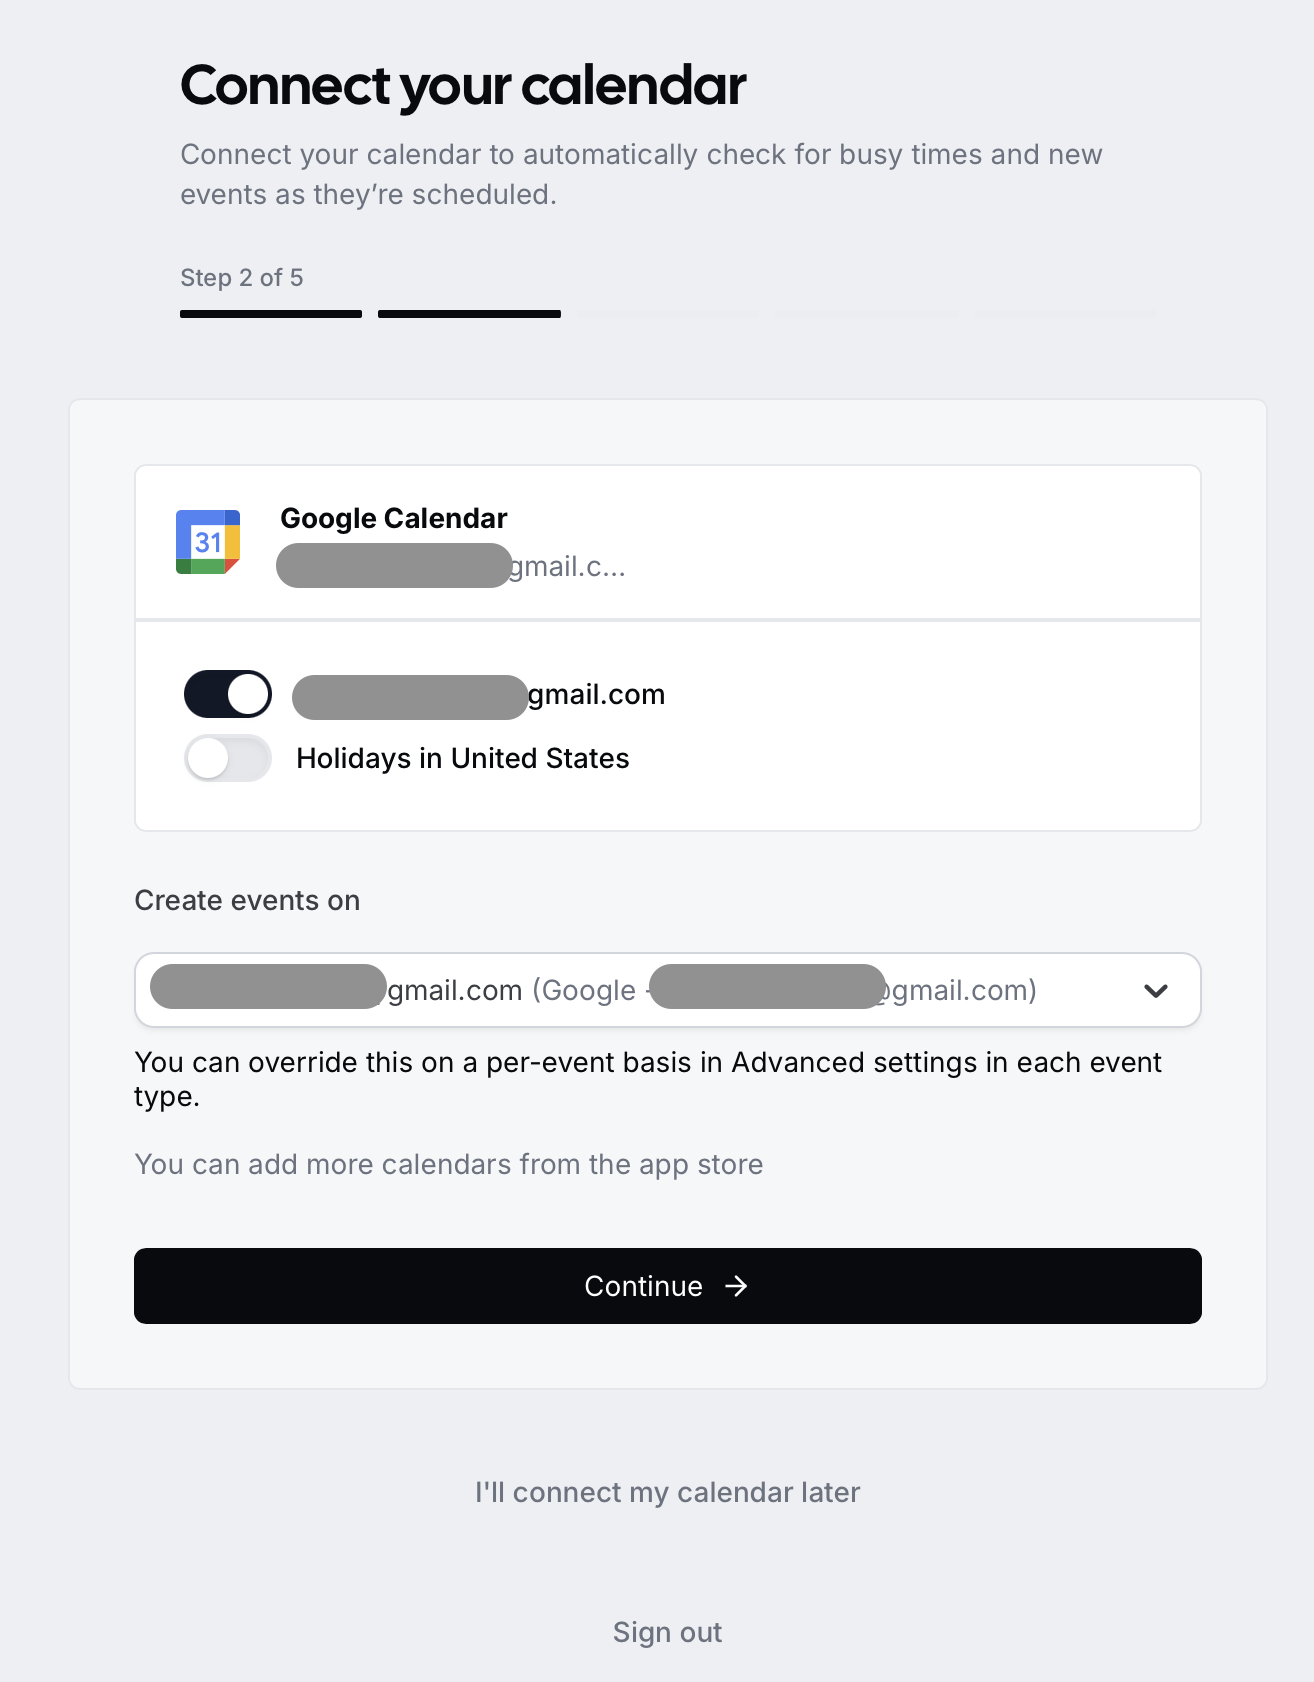
Click on Next Step and you will be redirected to the next page to connect your cal.com account to your Google Calendar.
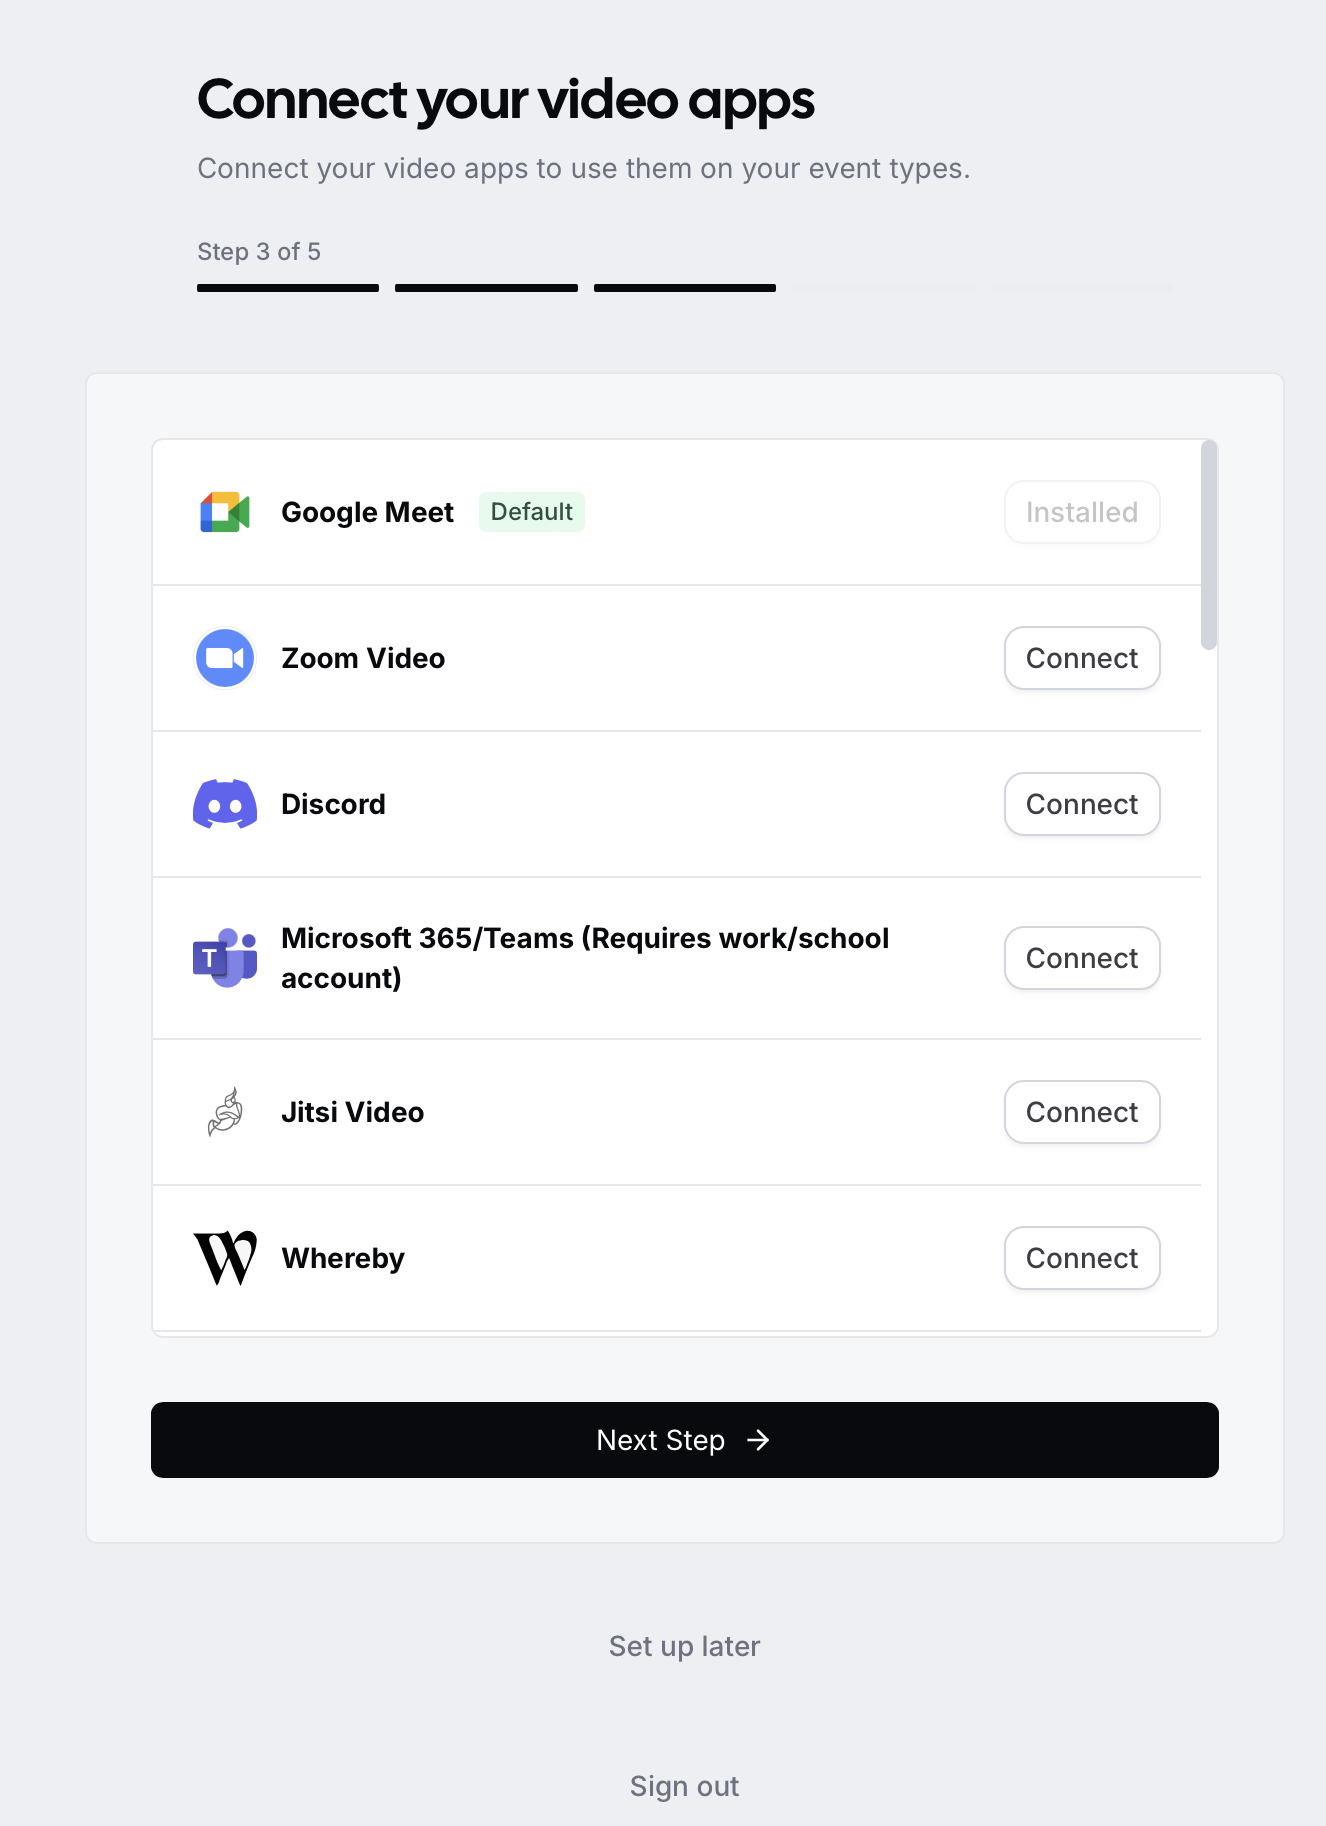
When you click Continue, you will be presetned with options for setting up the meetings such as Google Meet, Zoom, etc. Pick the one you want to use and click on Next Step.
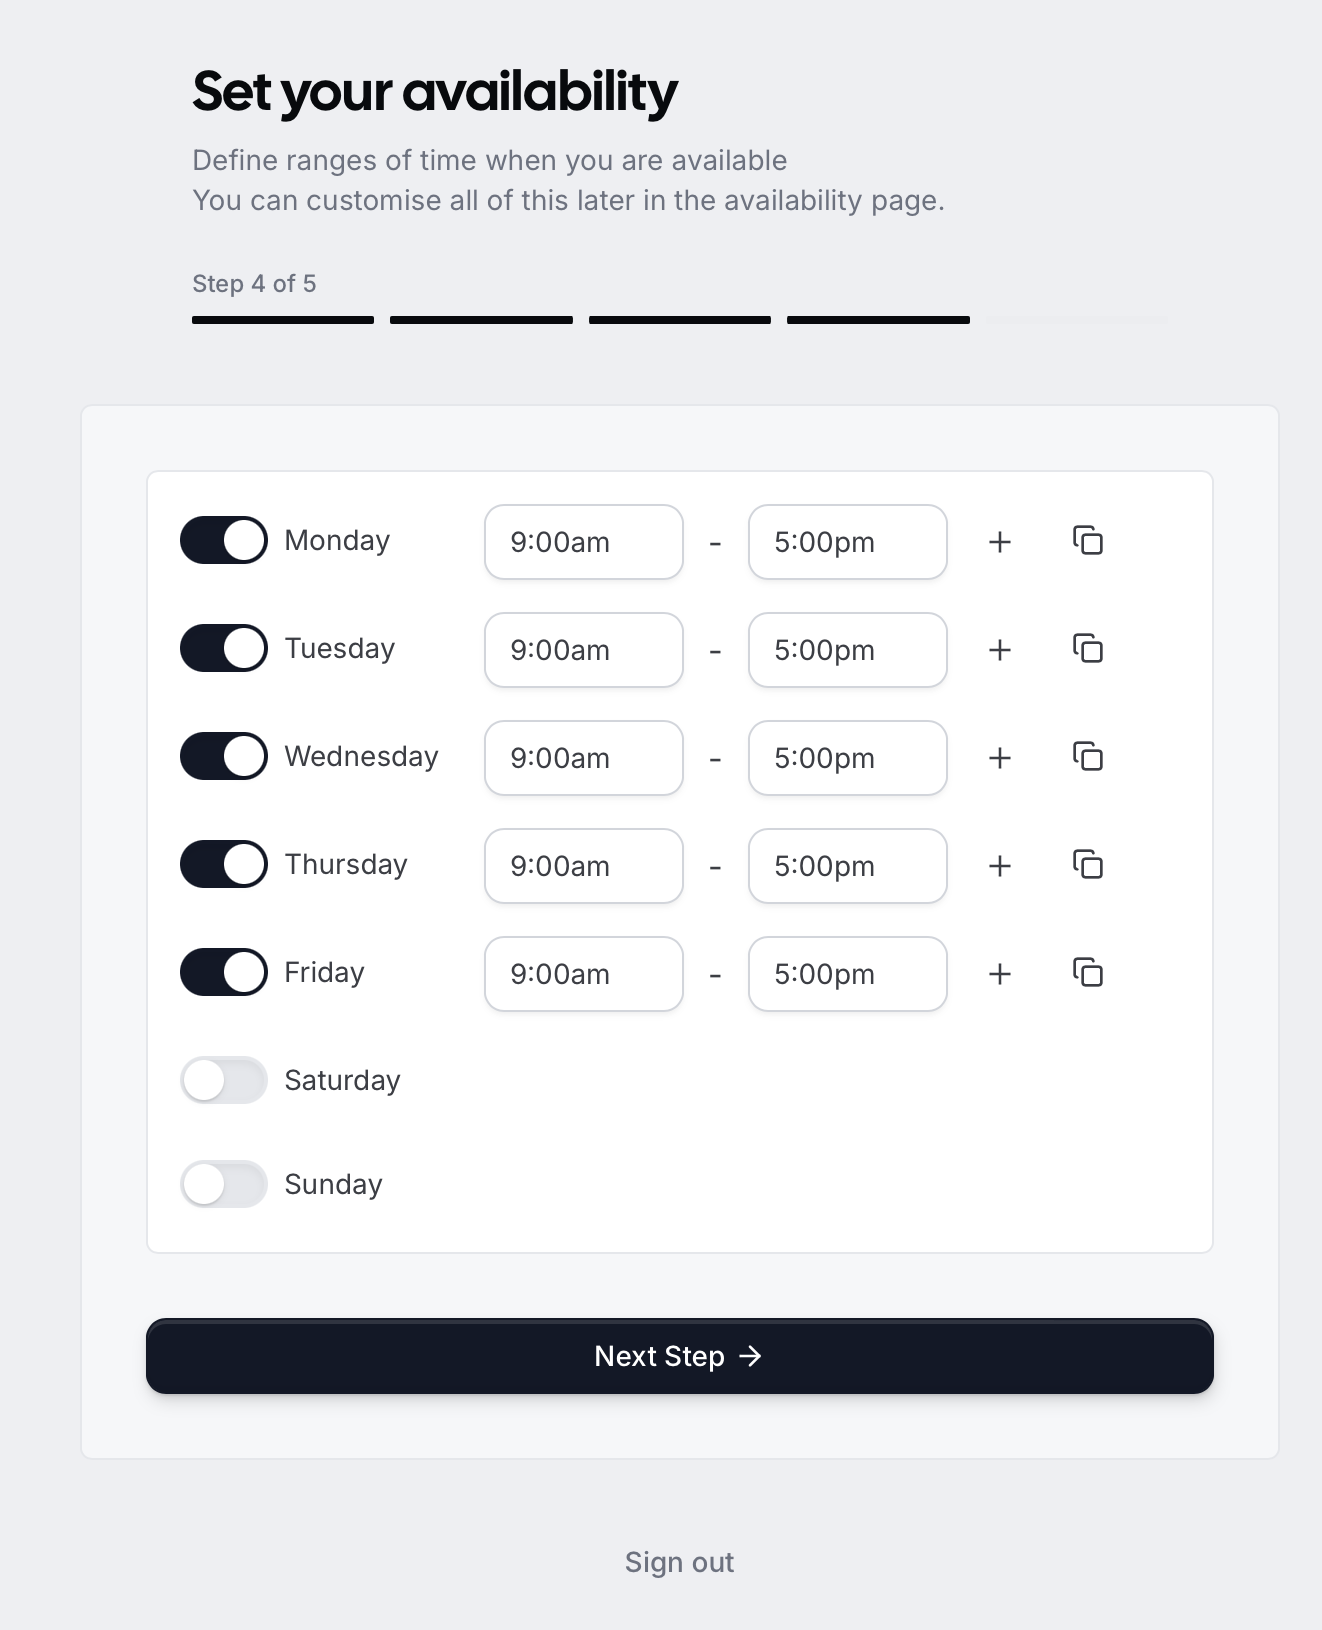
Set your availability and click on Next Step.
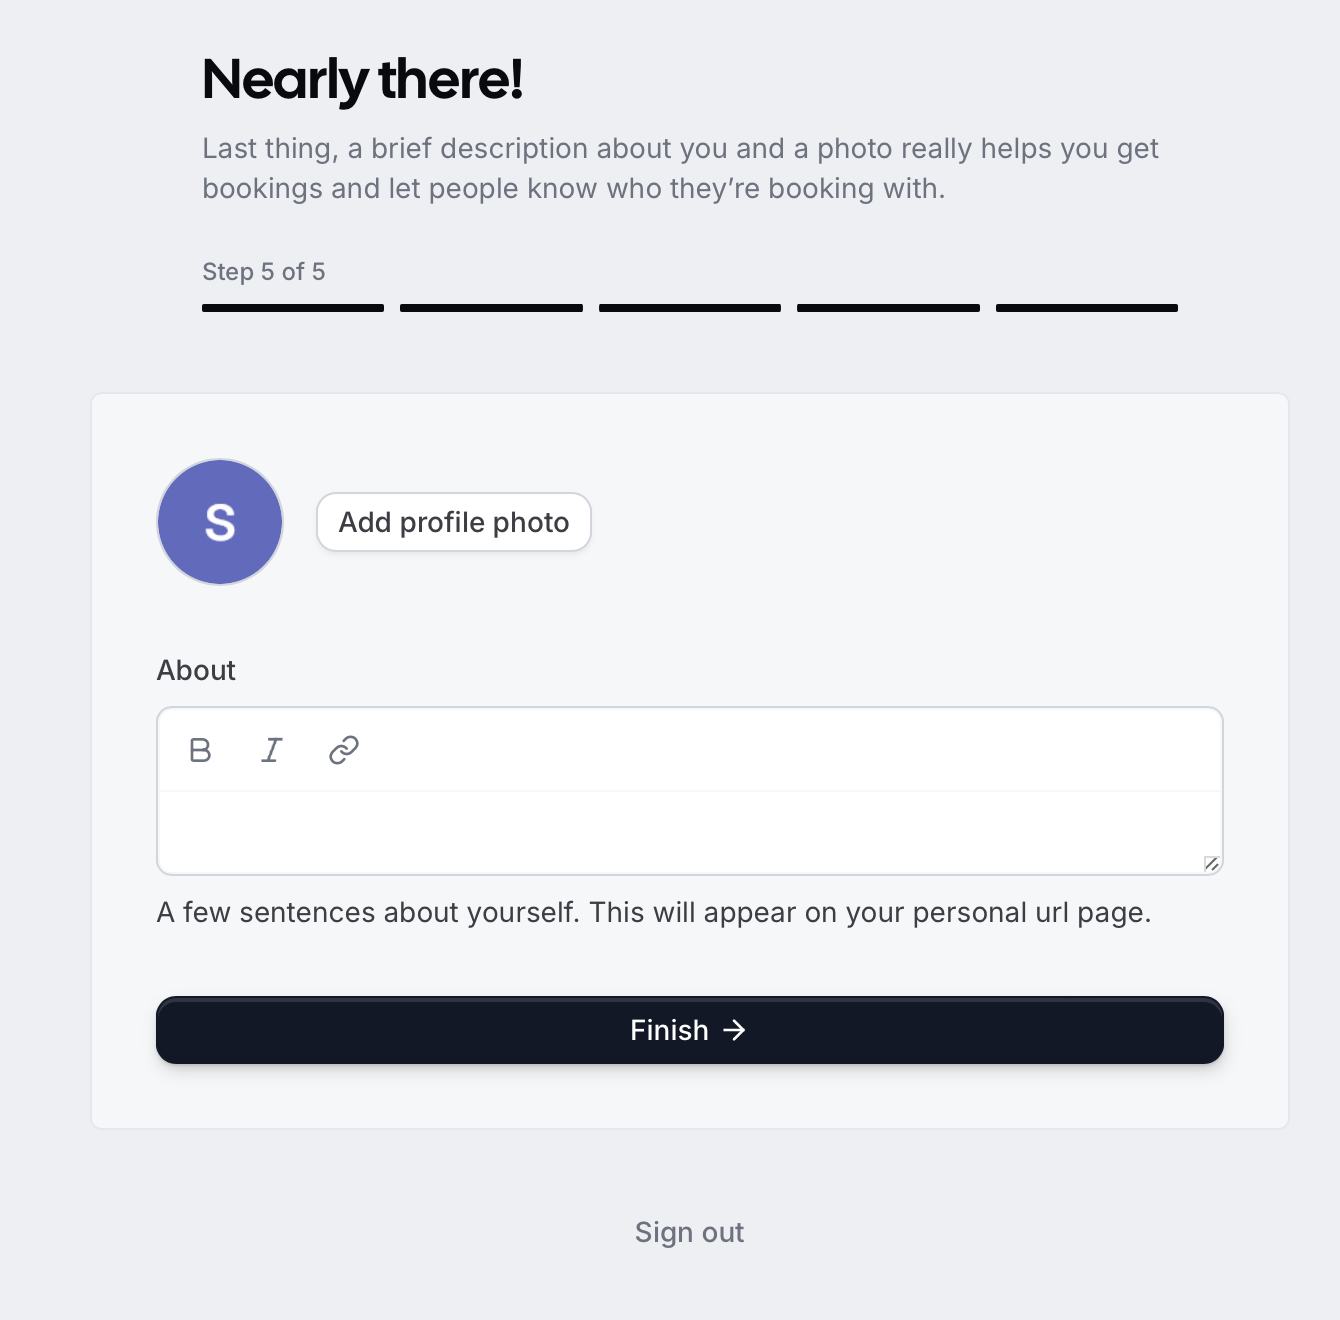
Optionally, provide some description about your business and click on Finish.
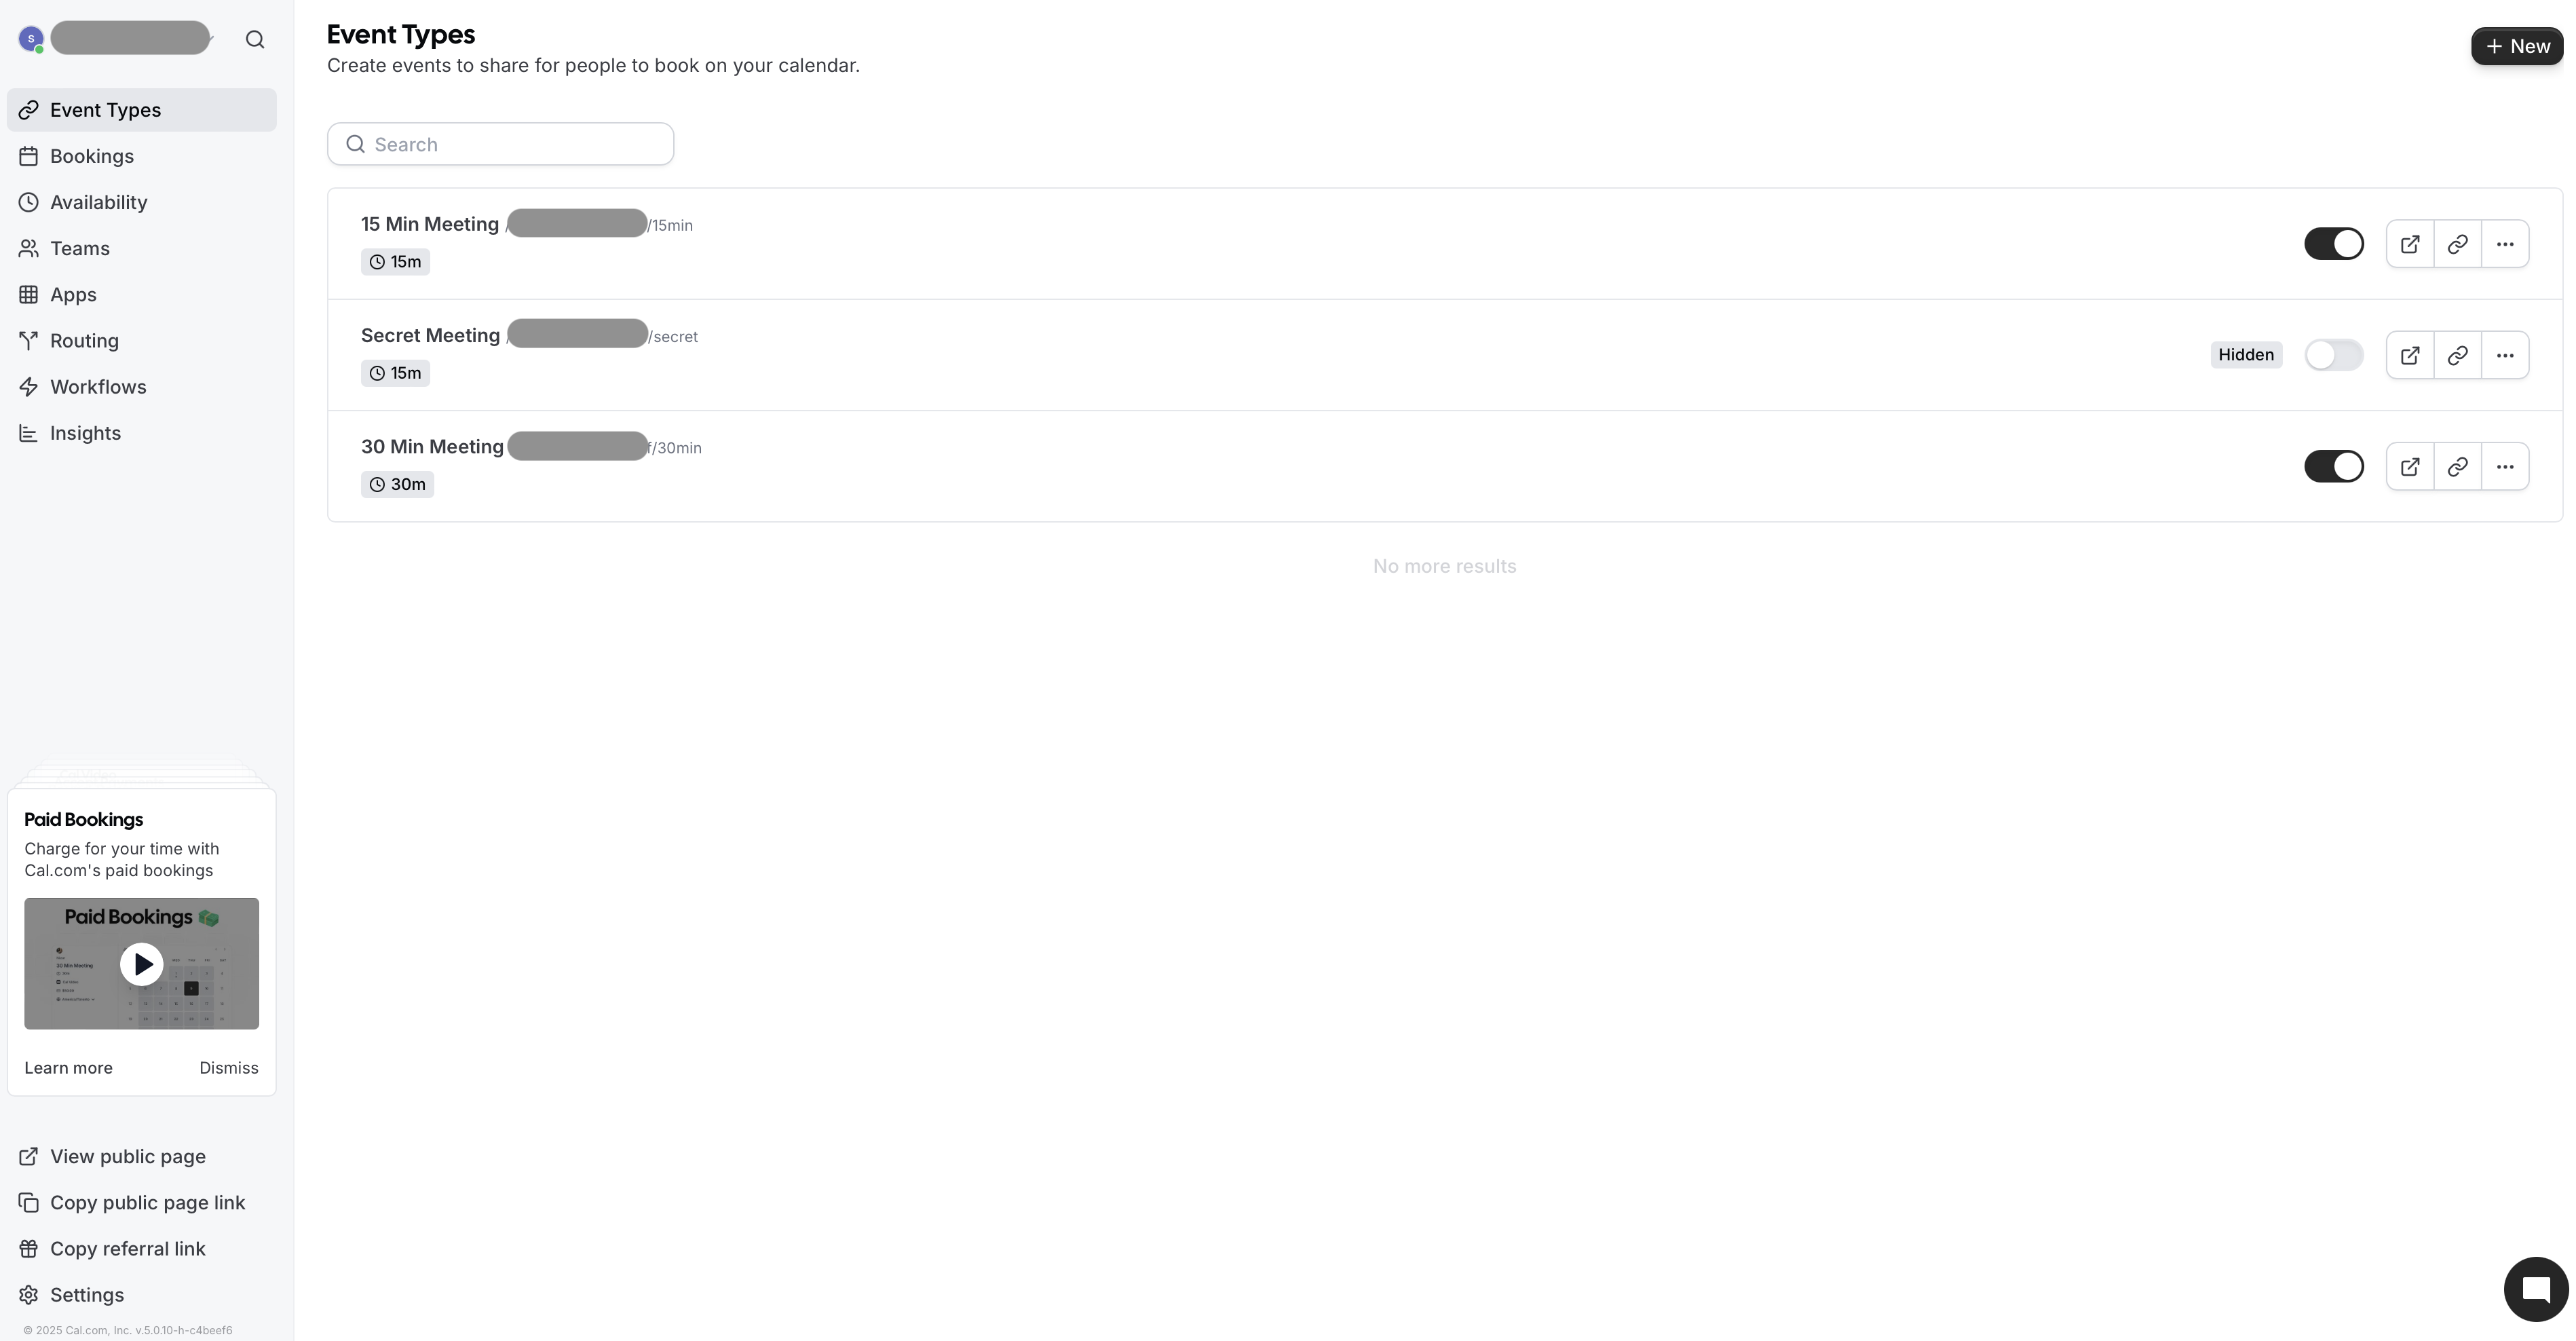
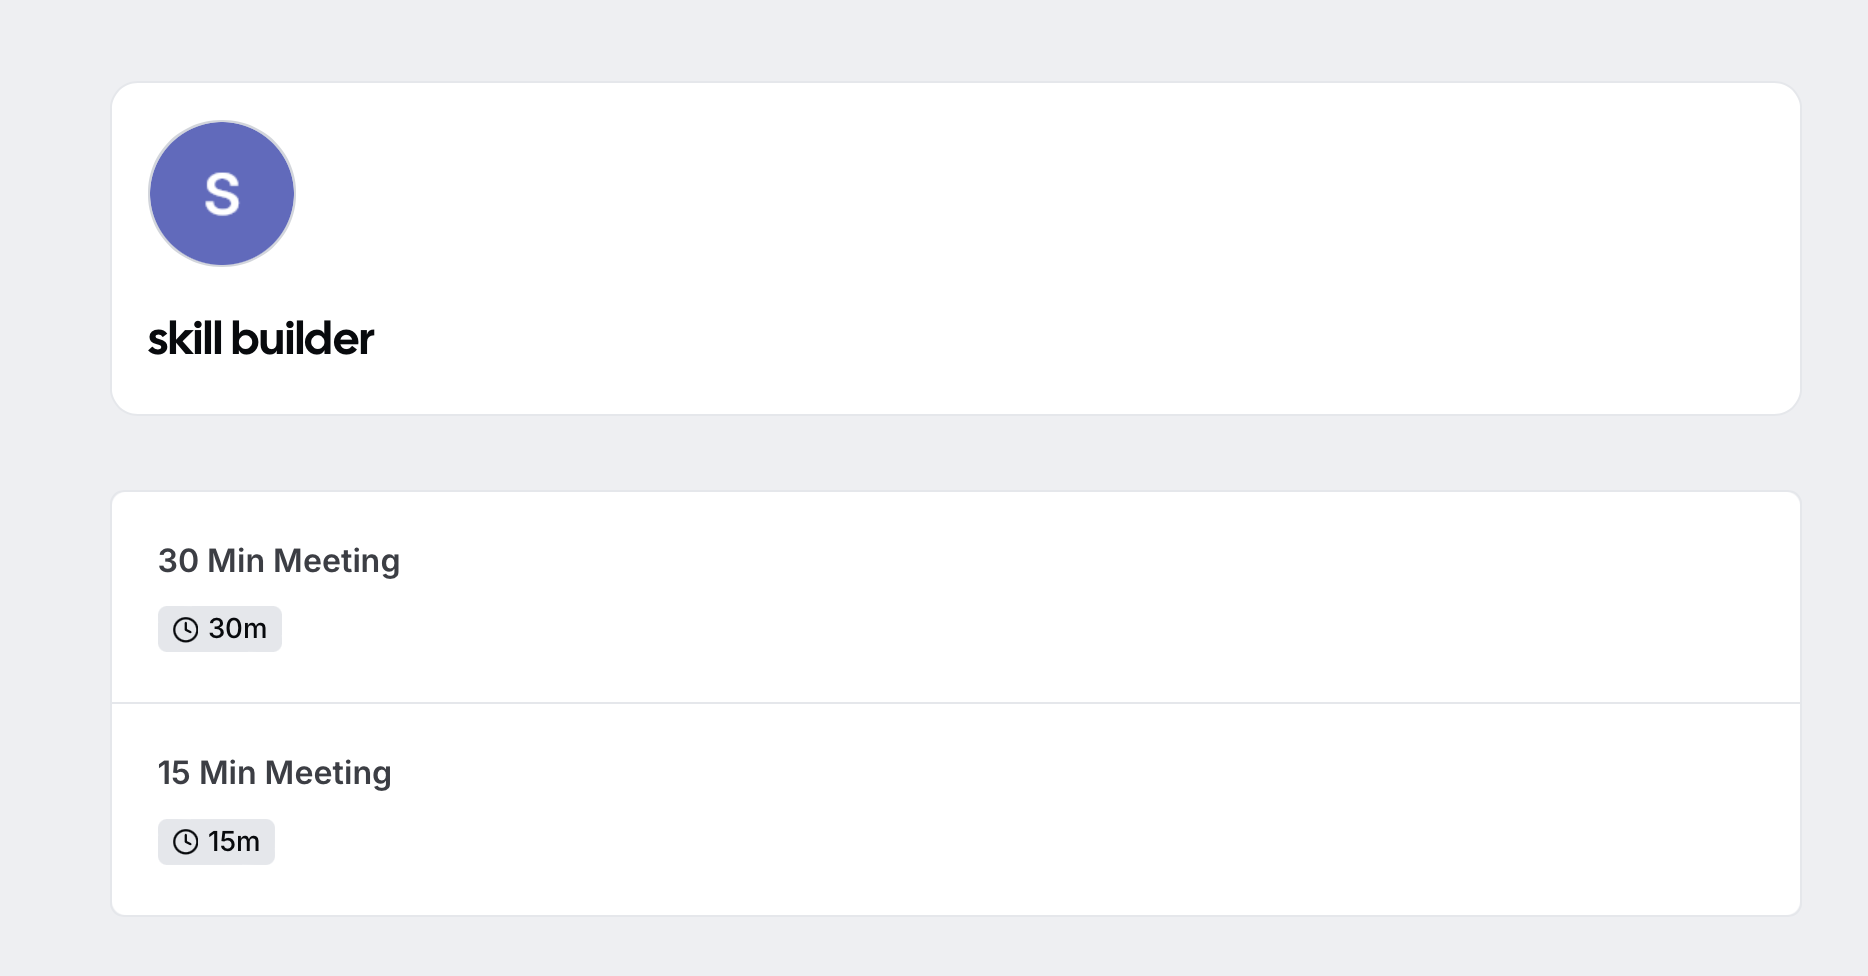
Once you click on Finish, you will be redirected to the next page where you will see meeting types such as 15 min, 15min secret, and 30 min.
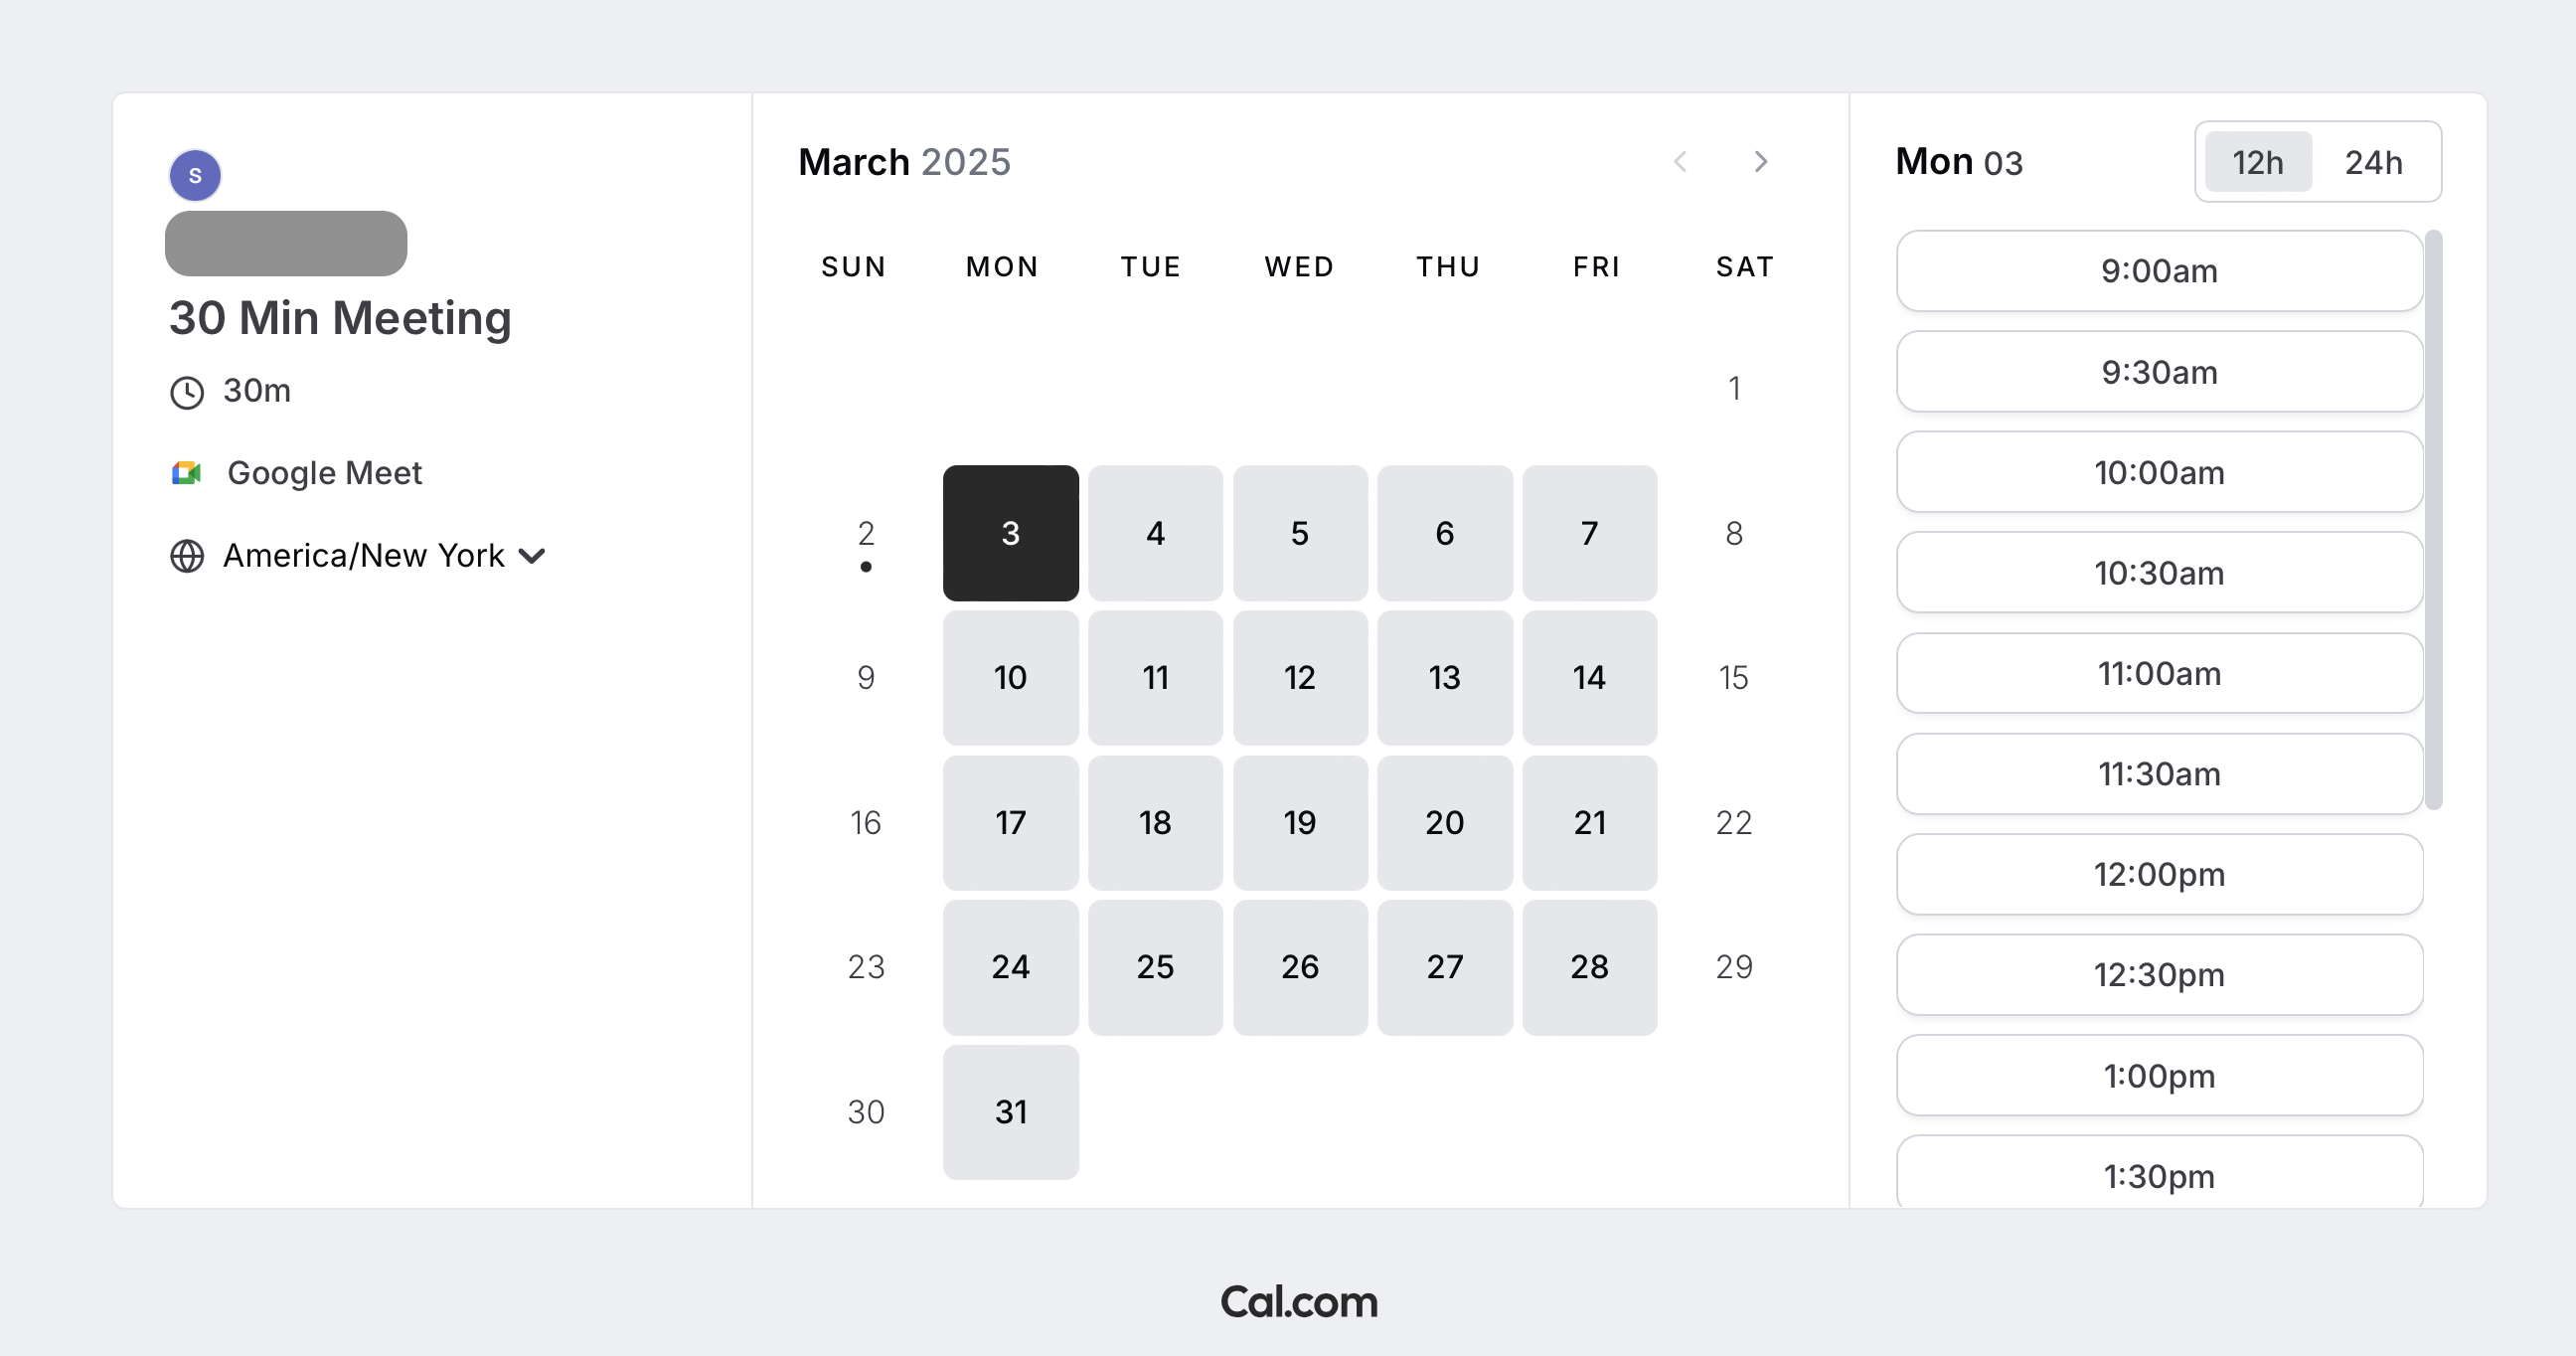
If you click on 30 min, you will be redirected to the next page where you will see the calander for the current month.
Click on settings on the bottom left corner of the landing page.
You will see the profile page.
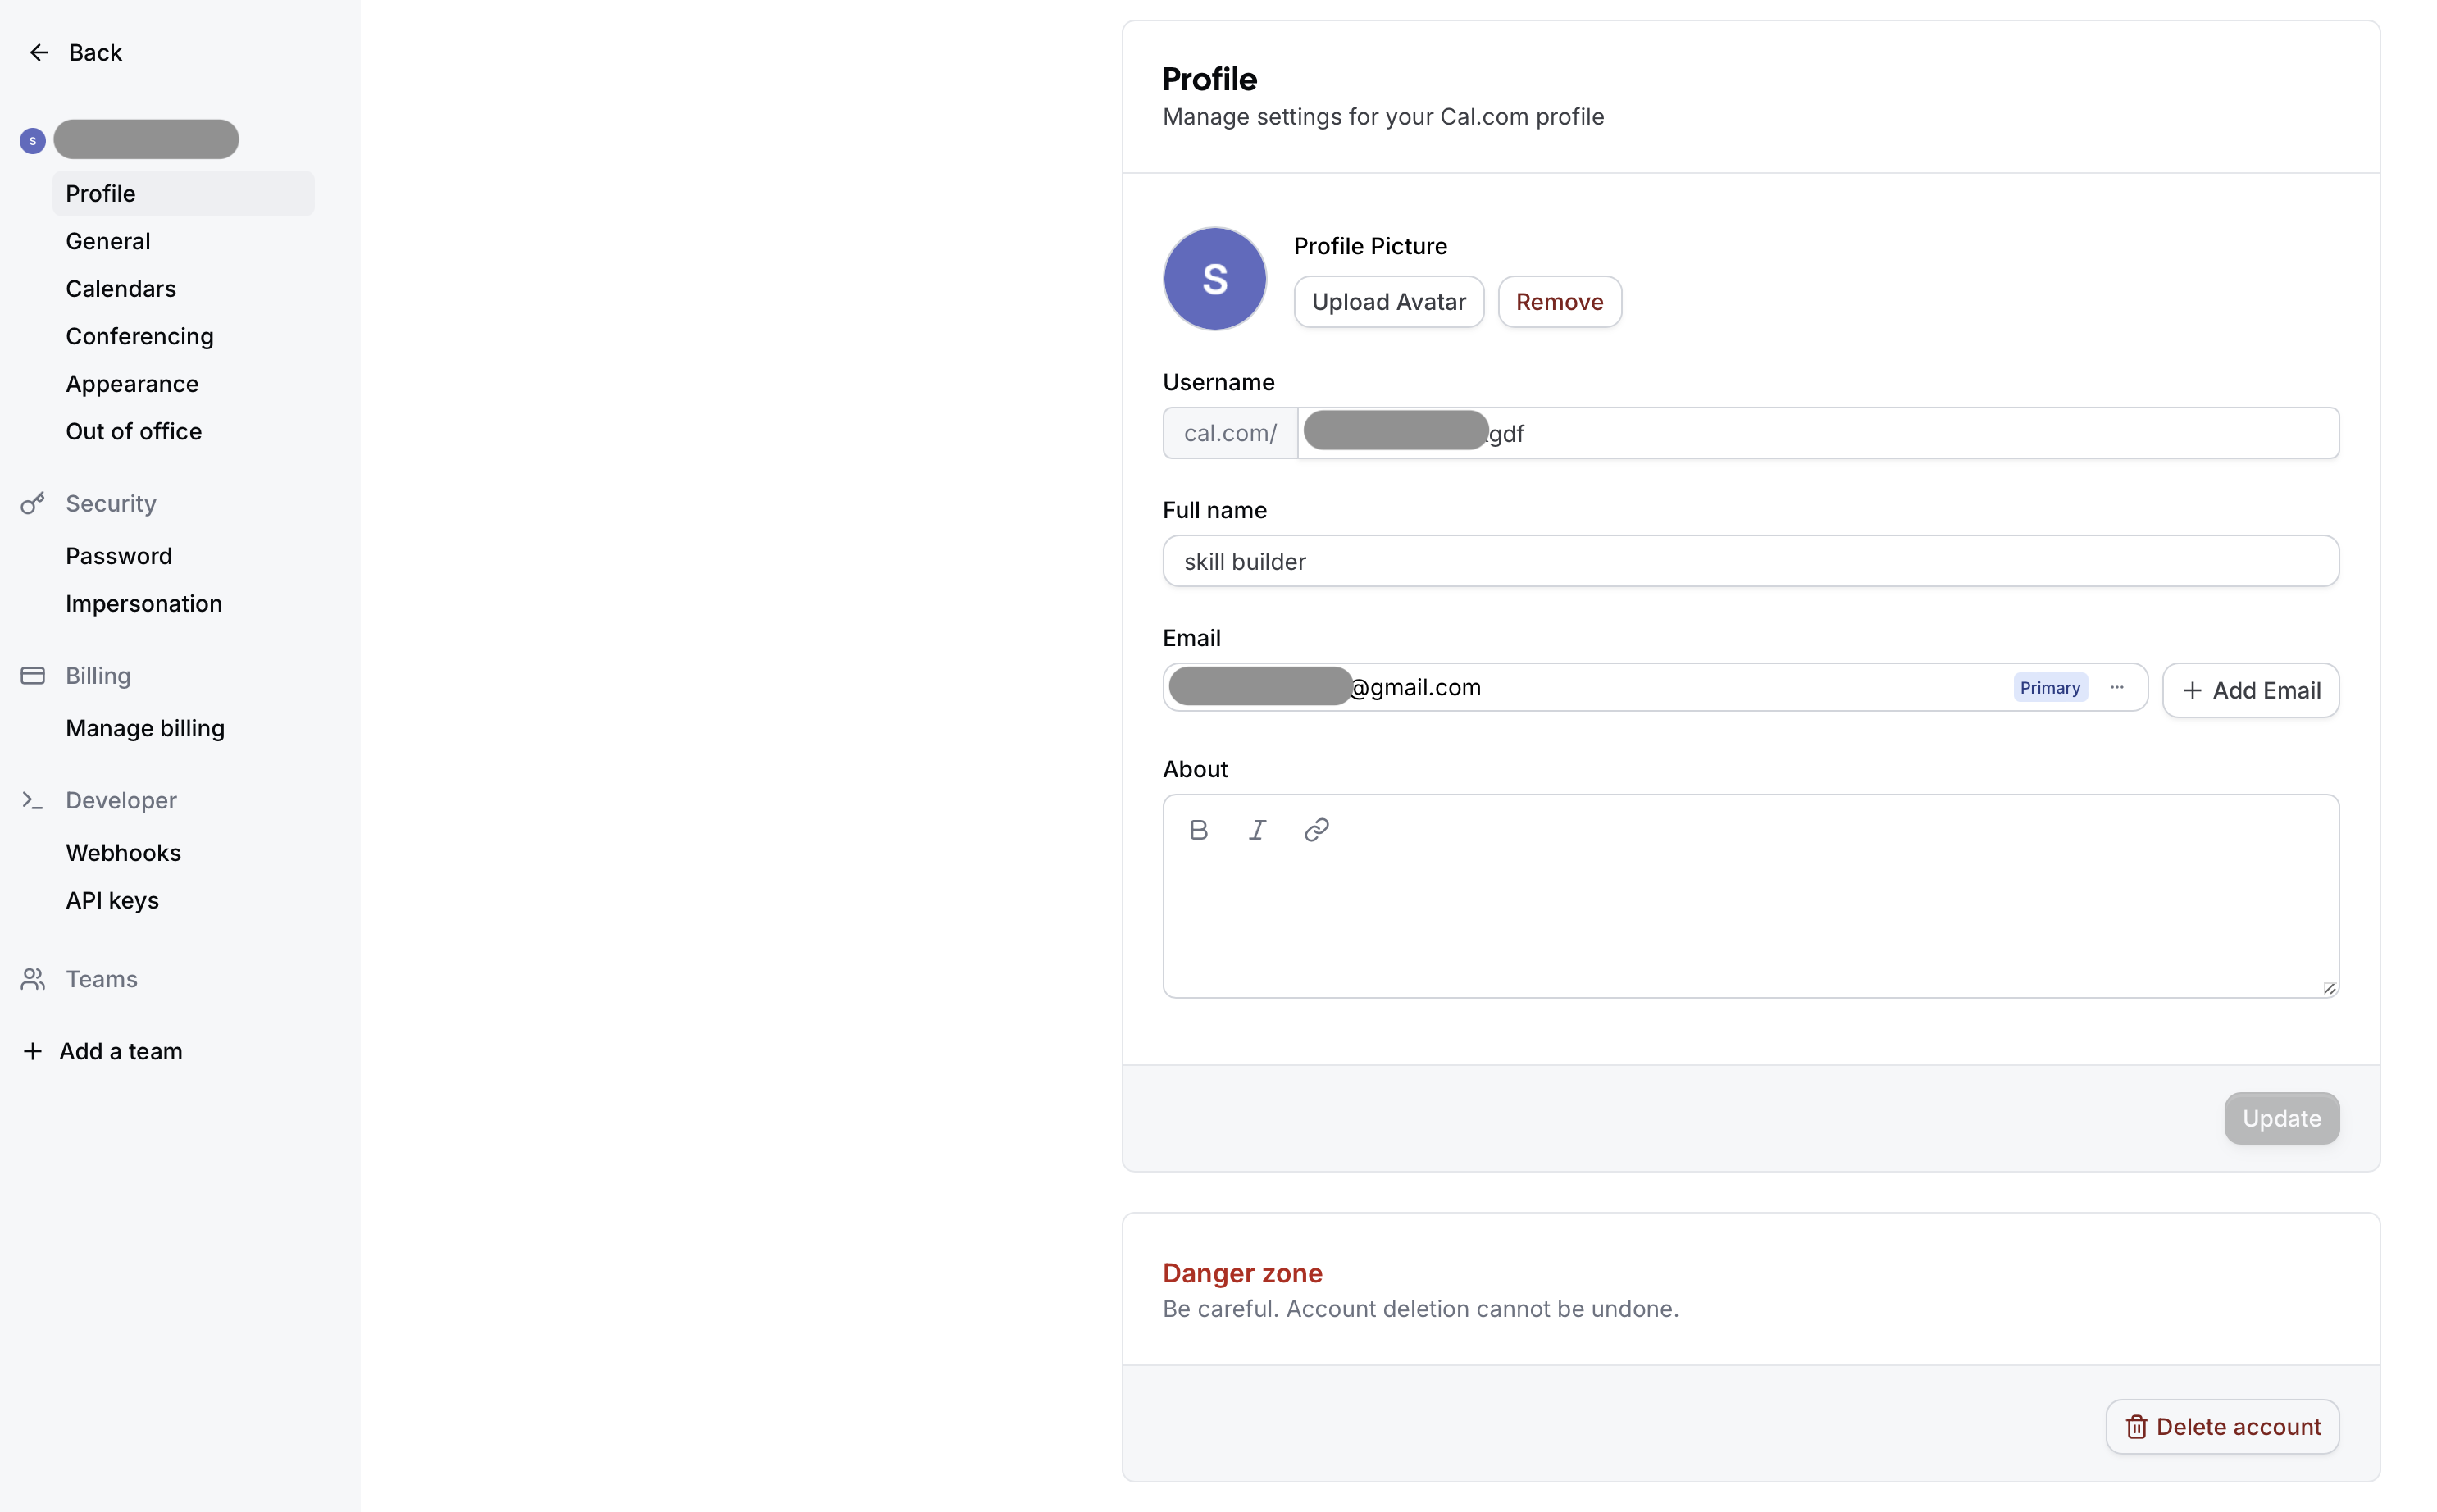
Click on API keys.
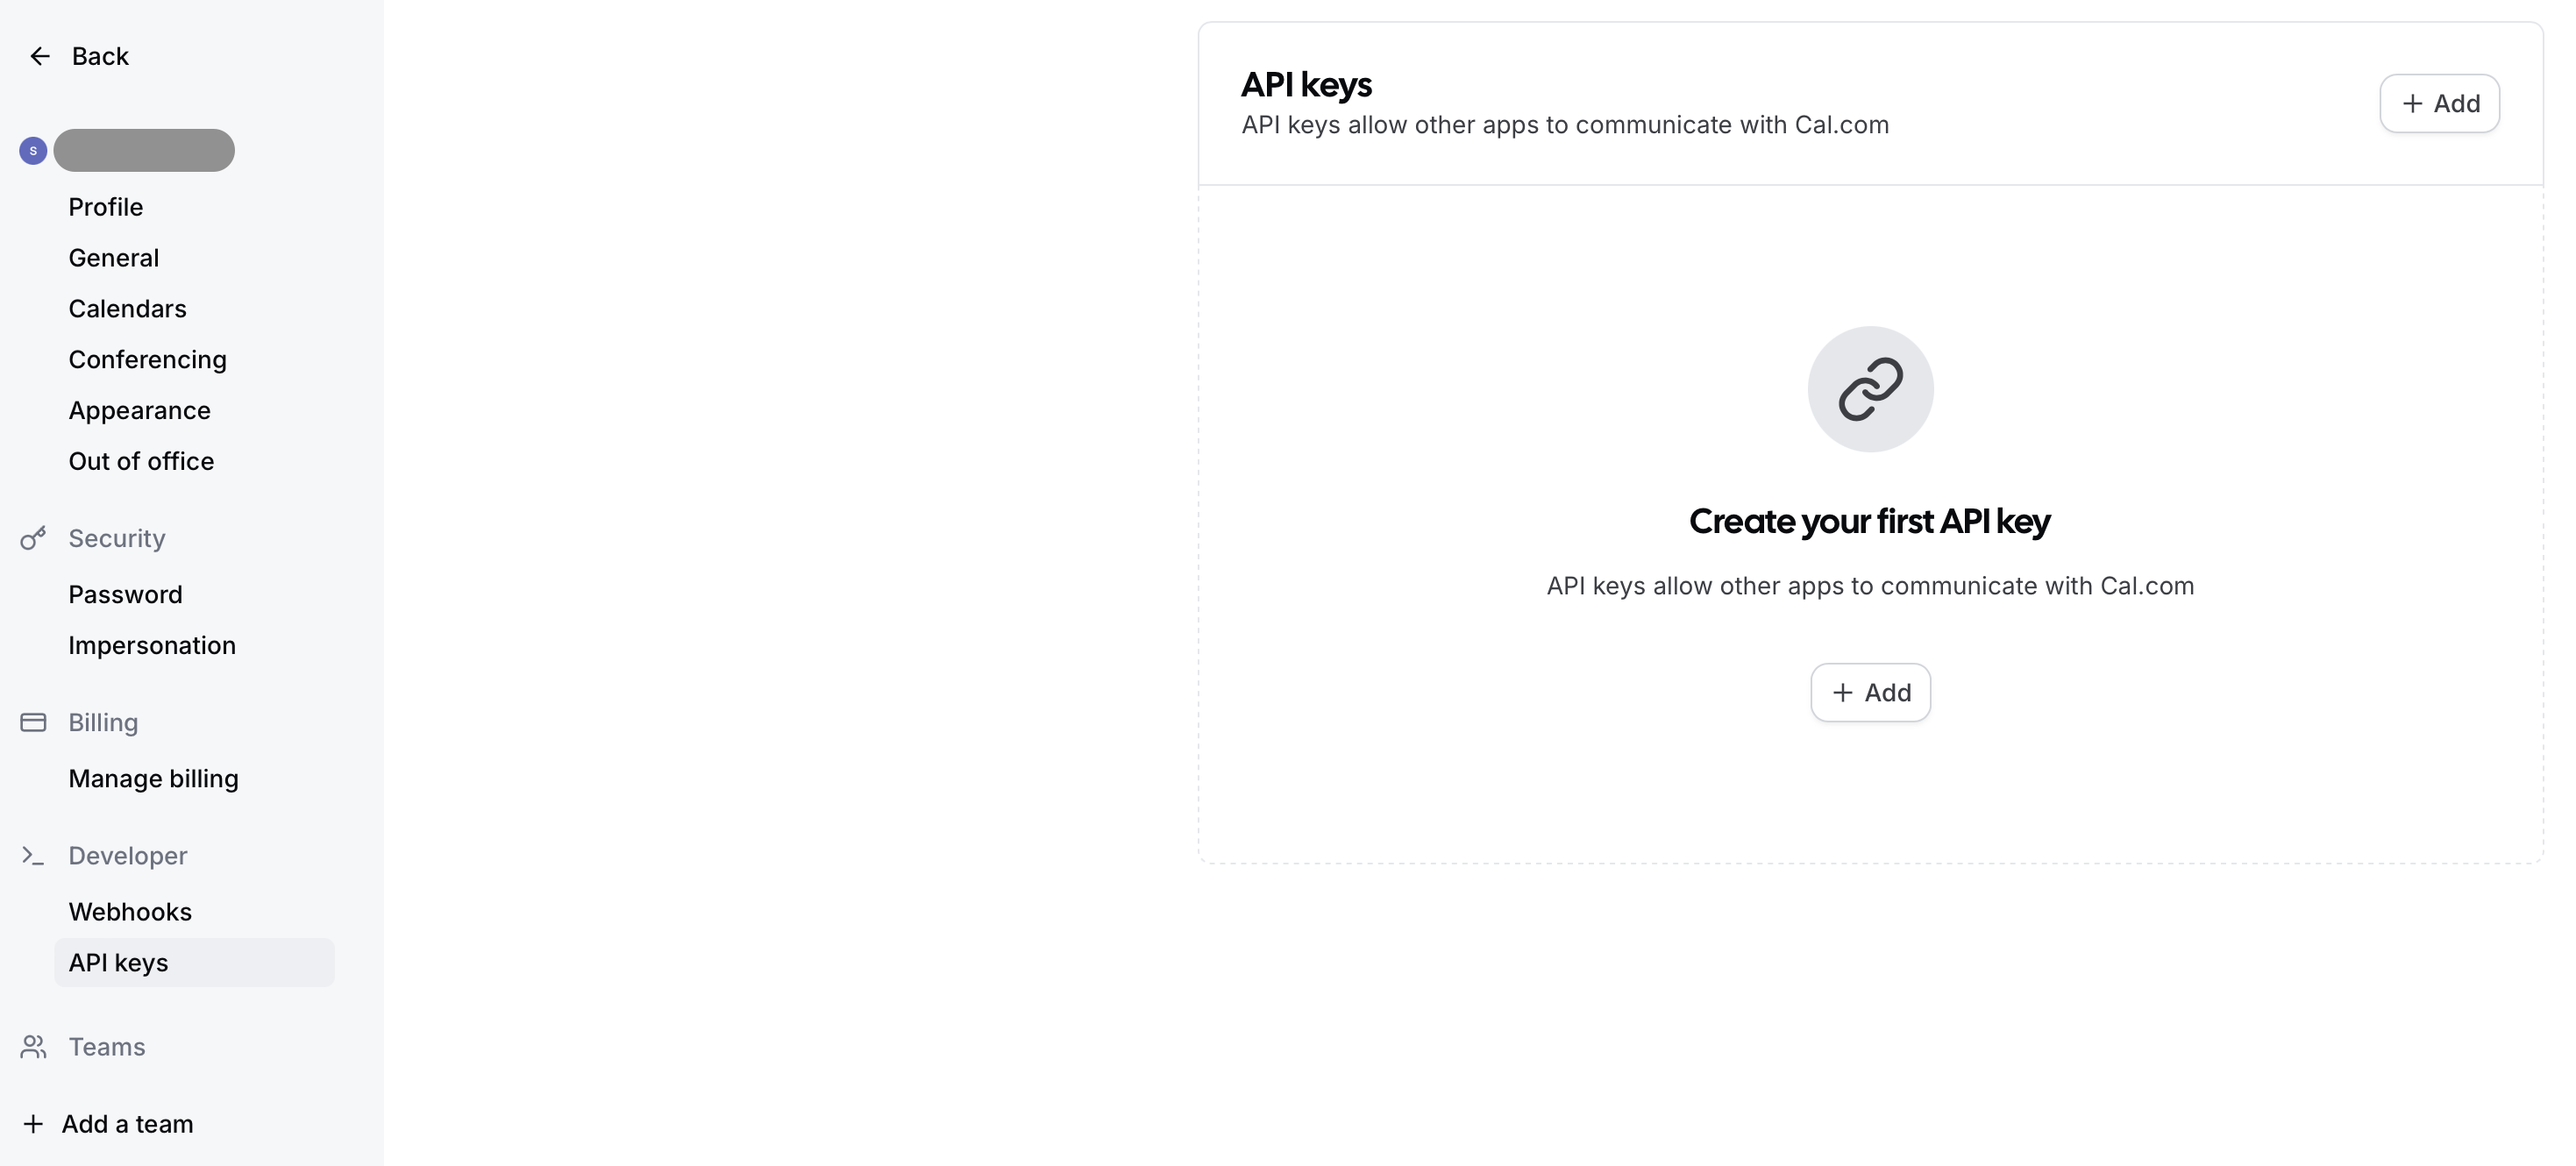
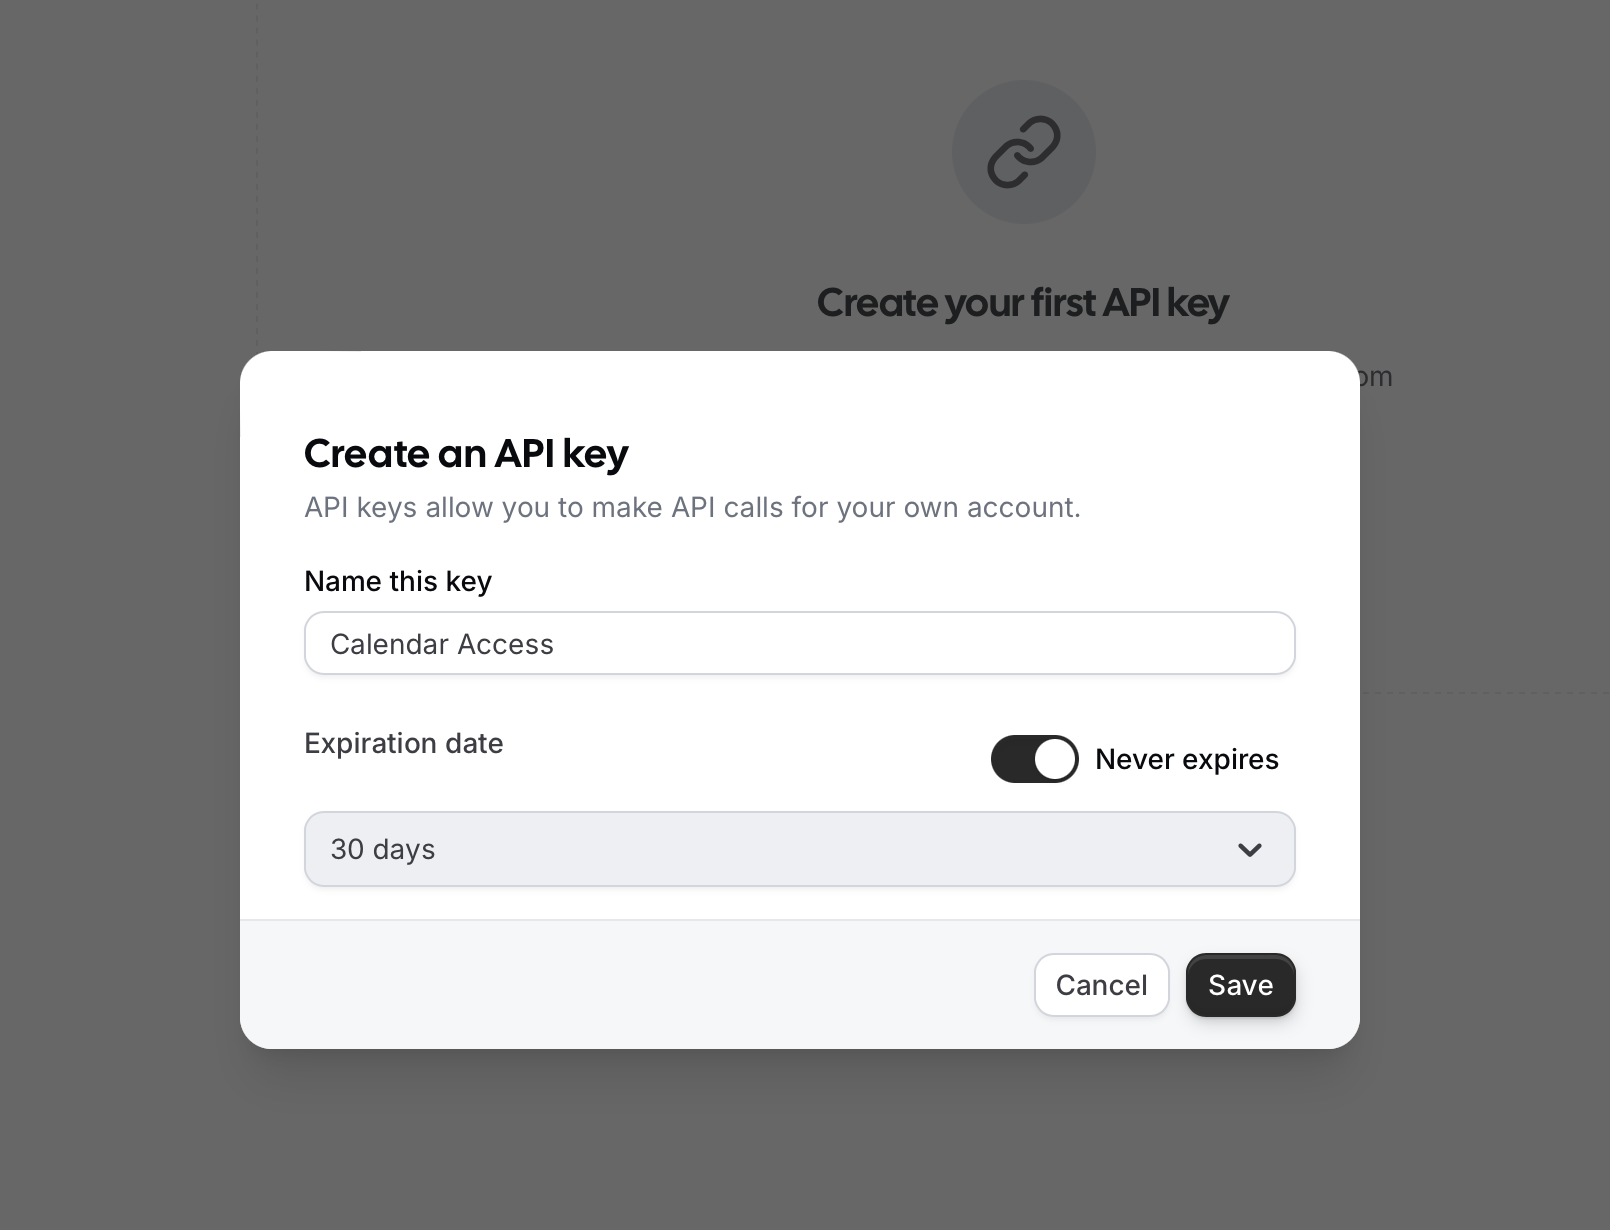
Once you click on Add, give your key a name and click on Save.
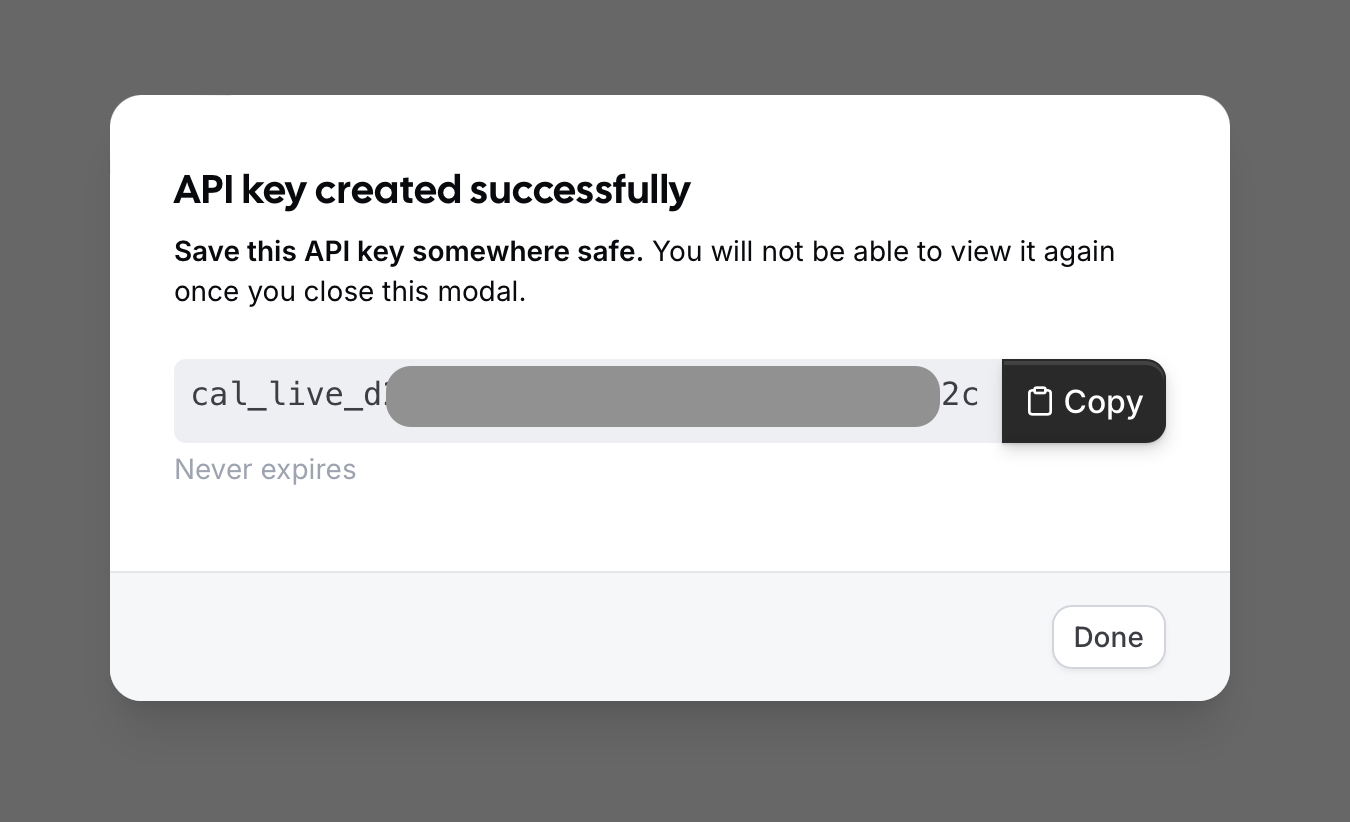
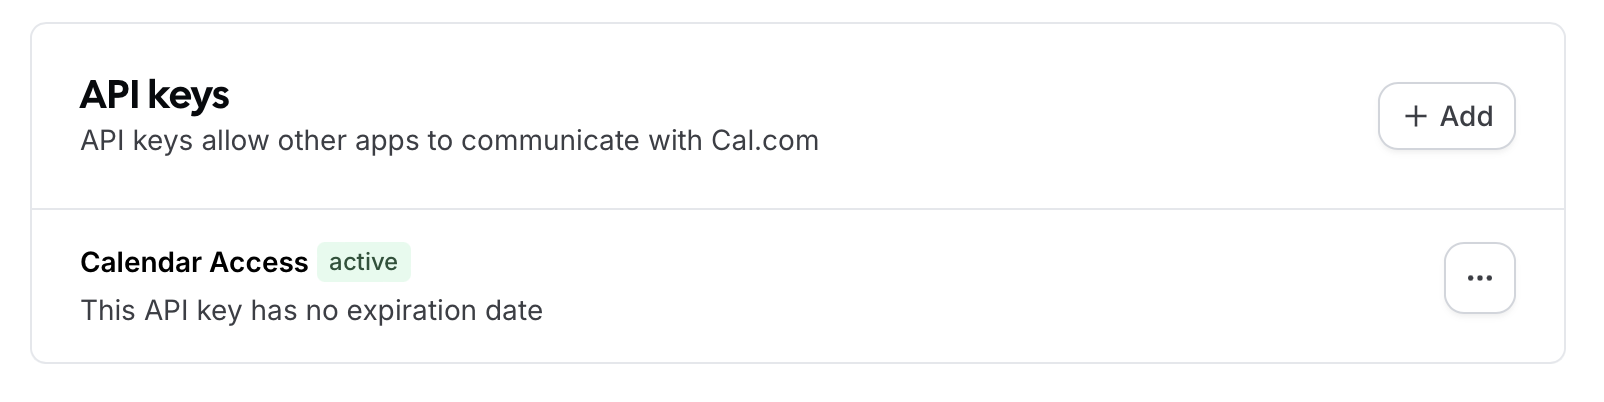
Copy the API key and save it in a secure place.
On cal.com API docs, navigate to the Get all event types page here.
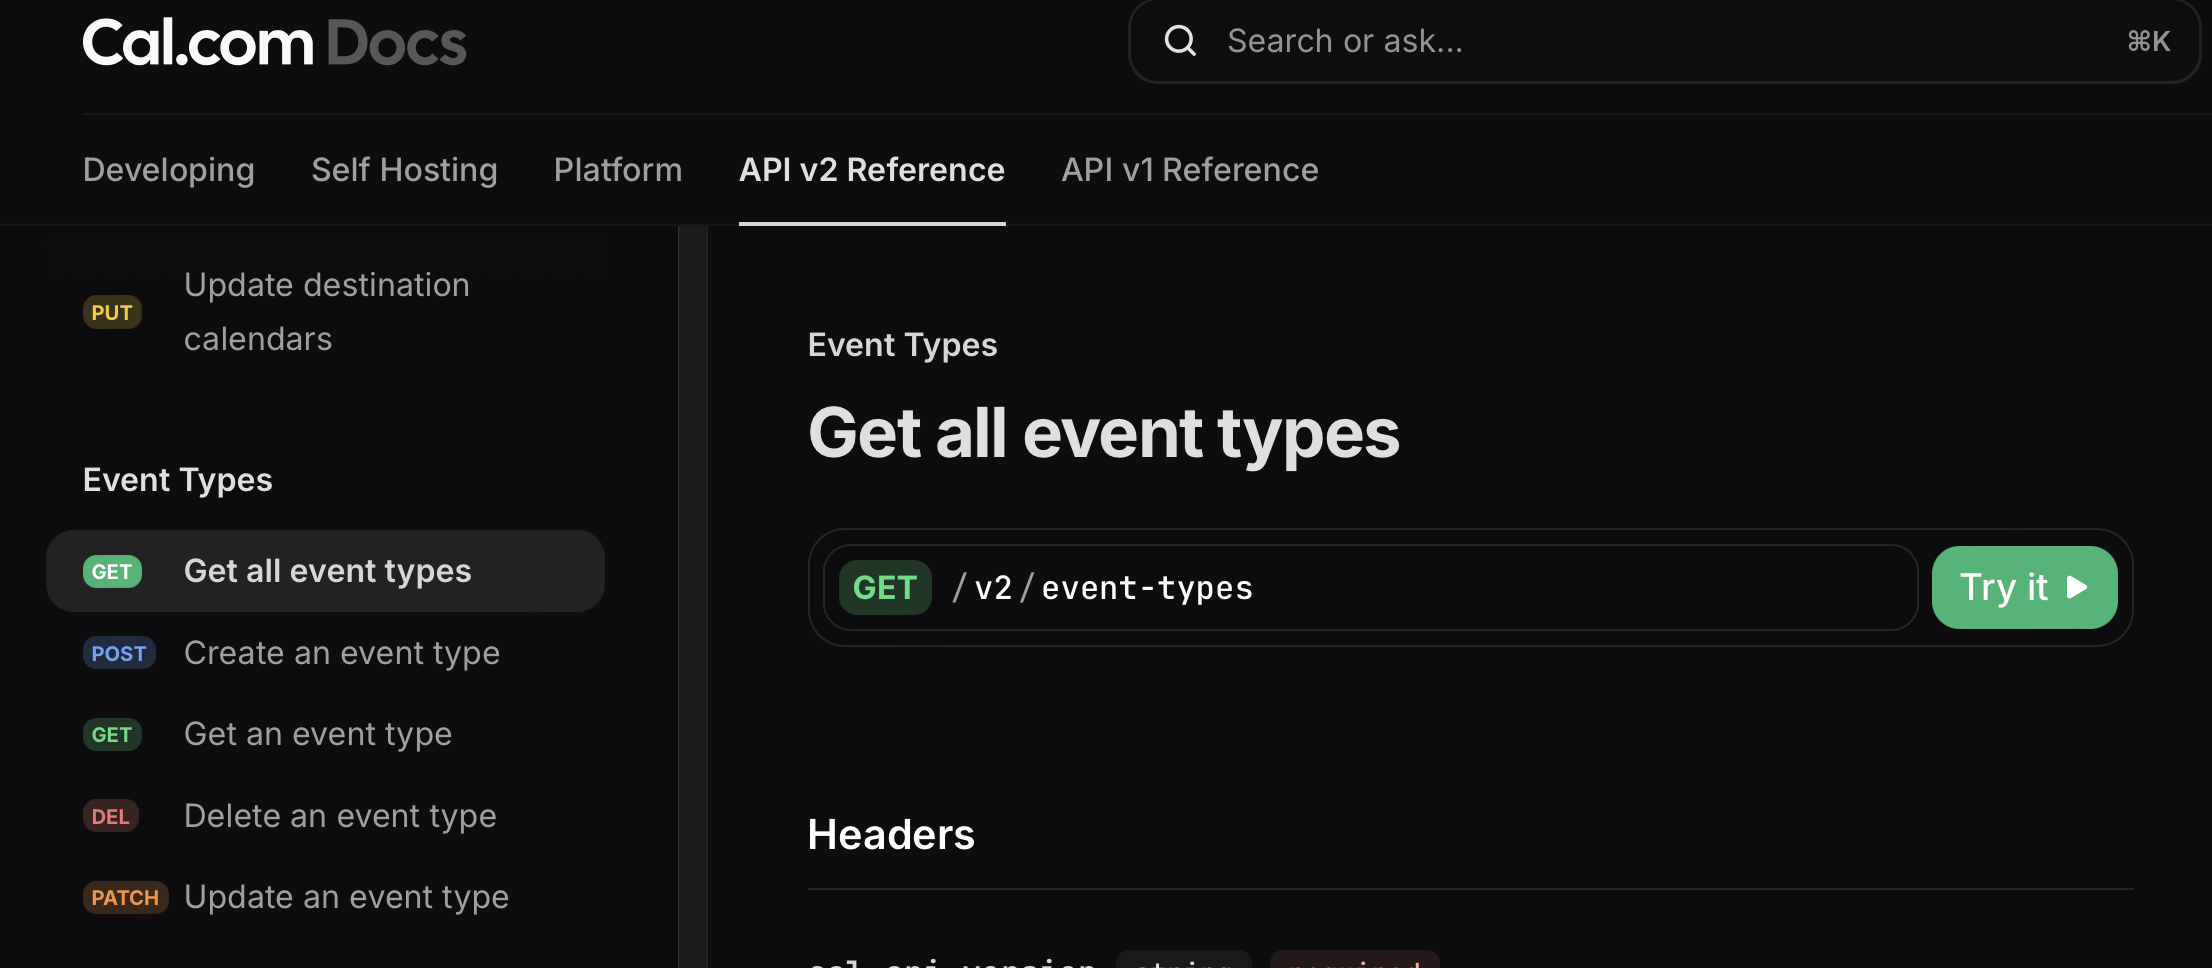
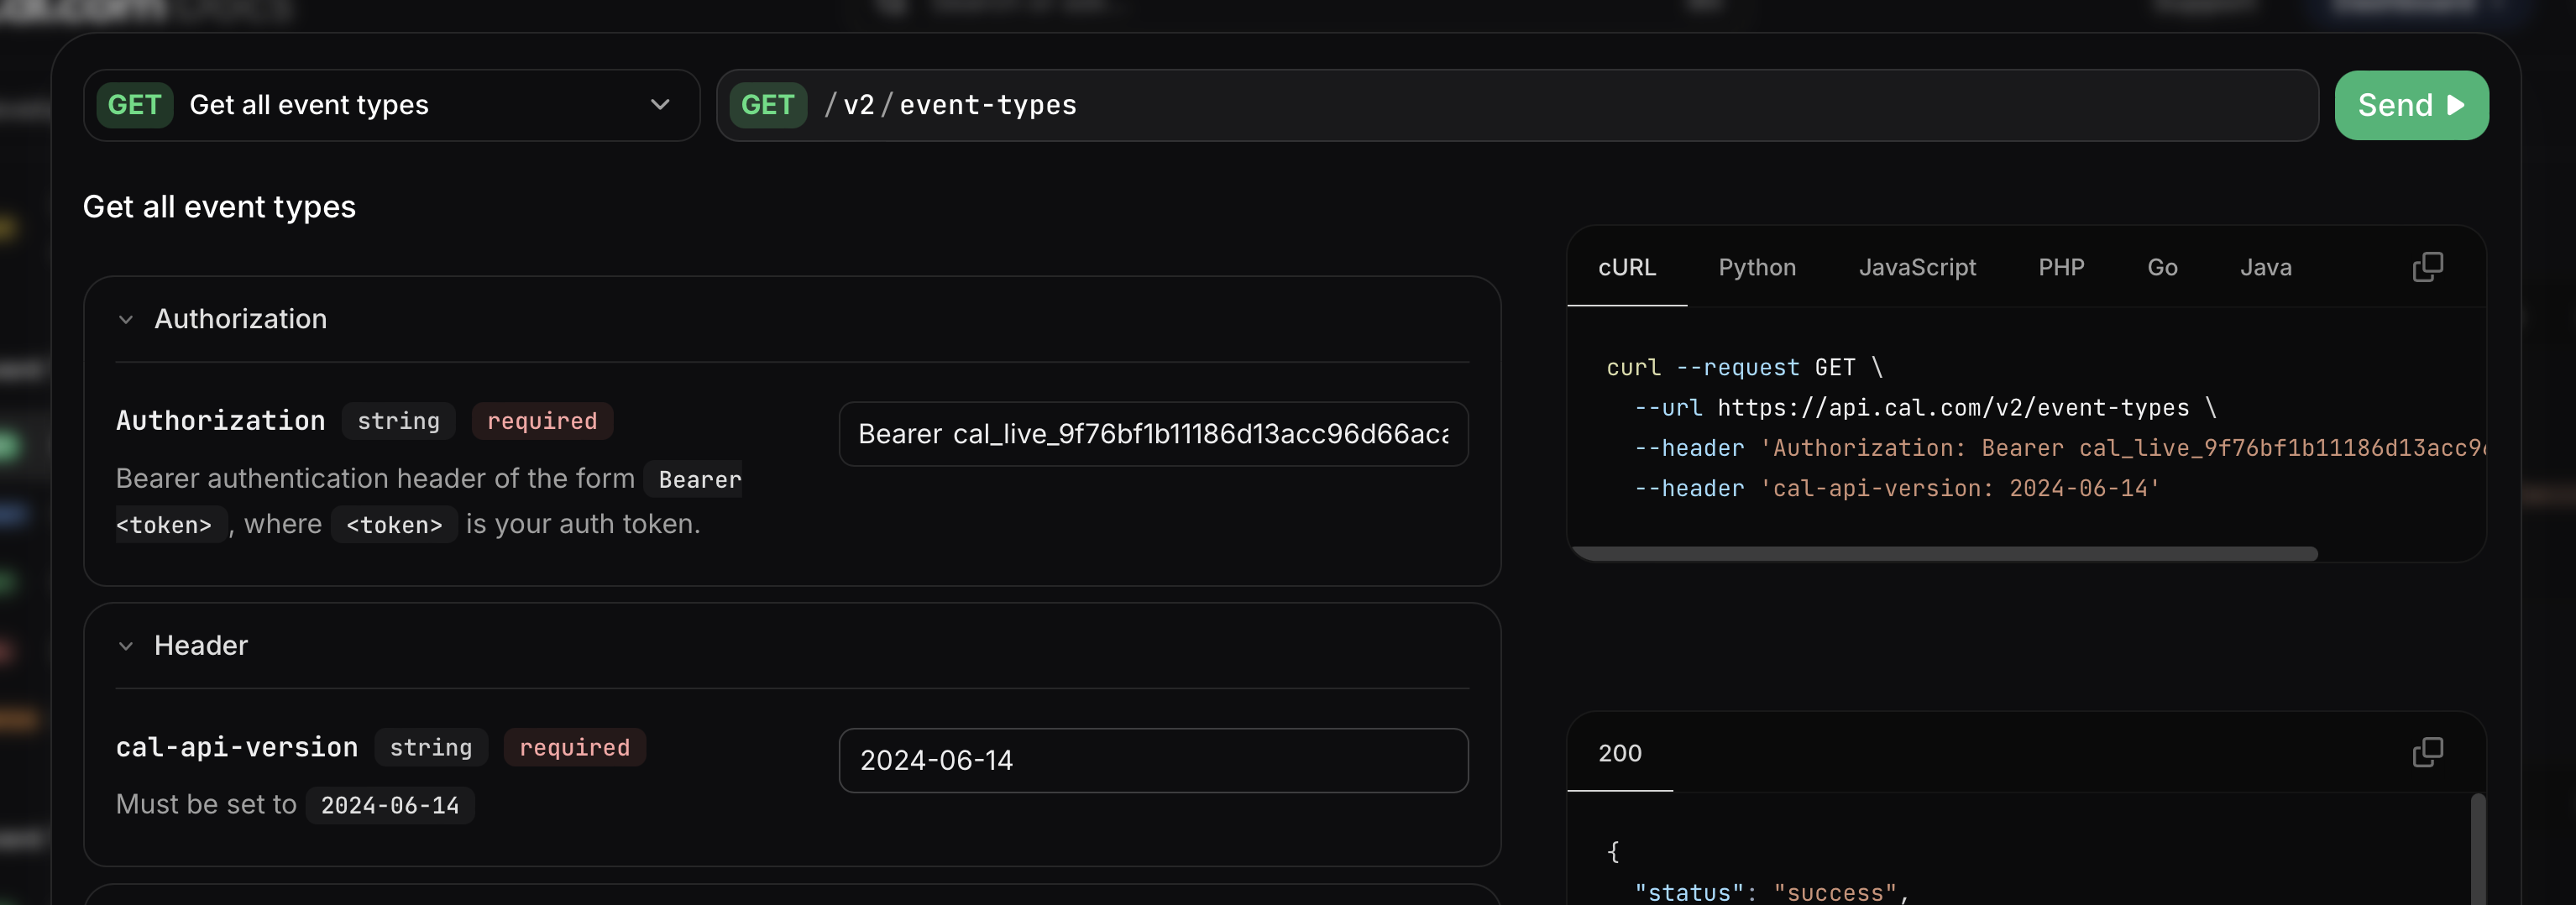
Click on Try it to retrieev event types (a unique number for each event type such as 15 min, 30 min) using your API key.
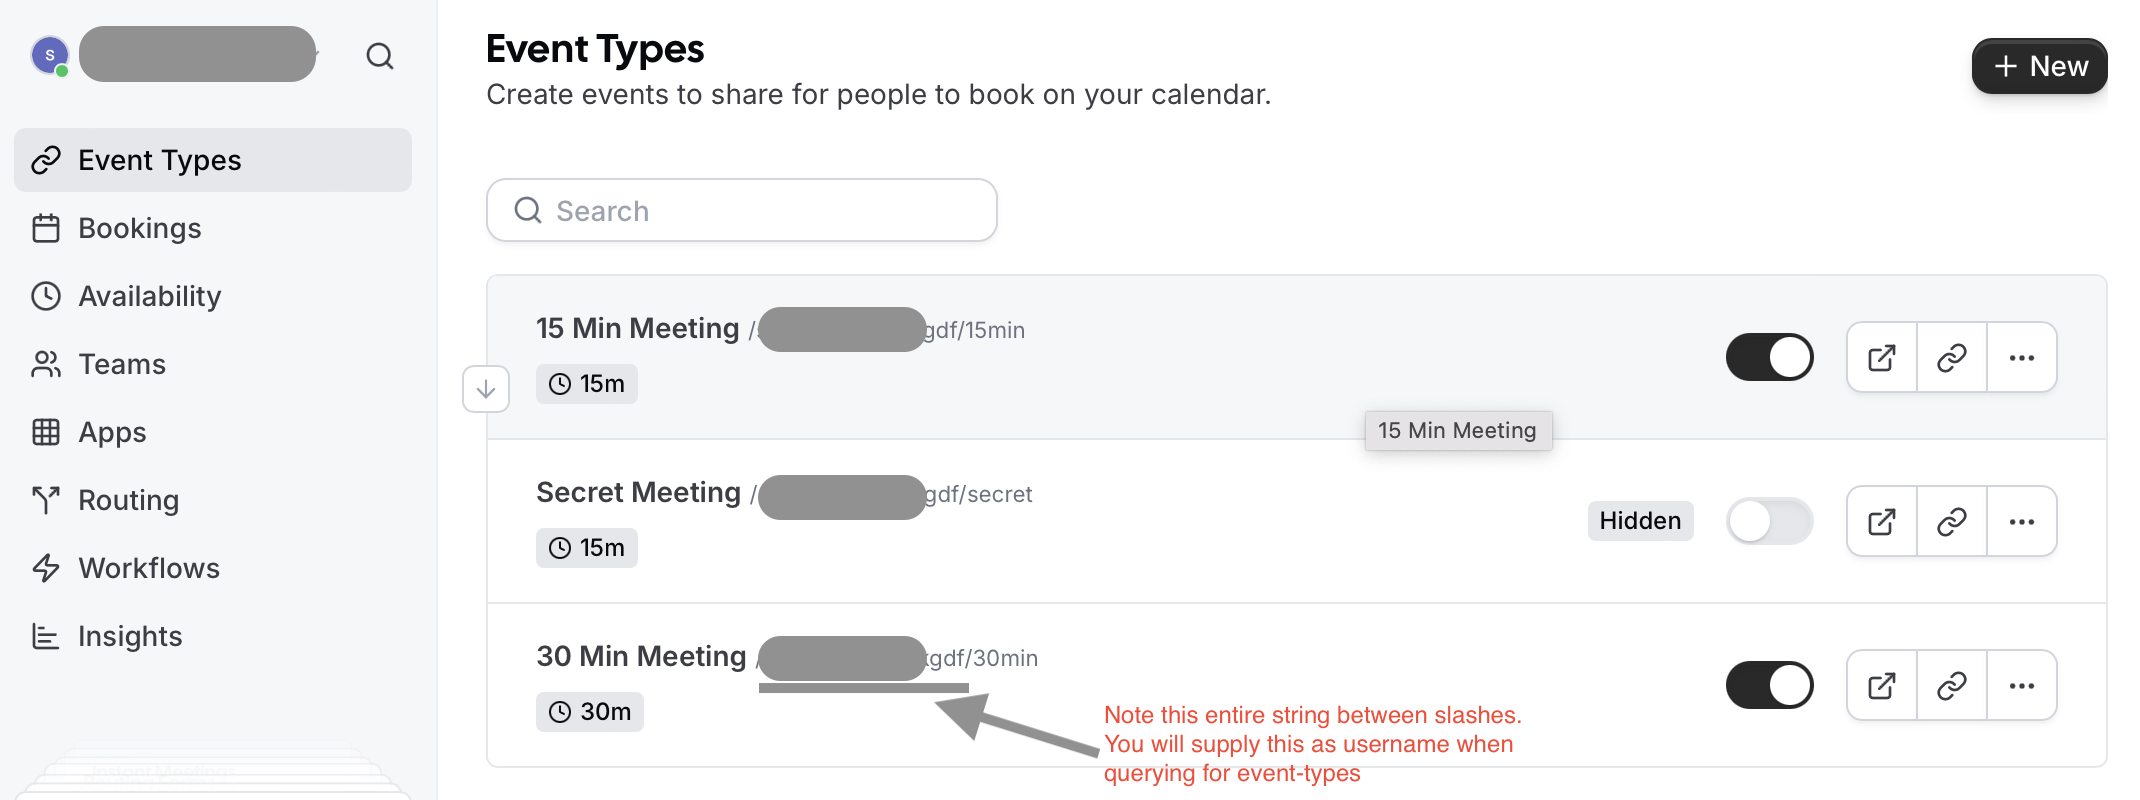
Note your username by picking the string betweeen slashes as shown in the image below.
Note down the event type ID as shown in the image below.
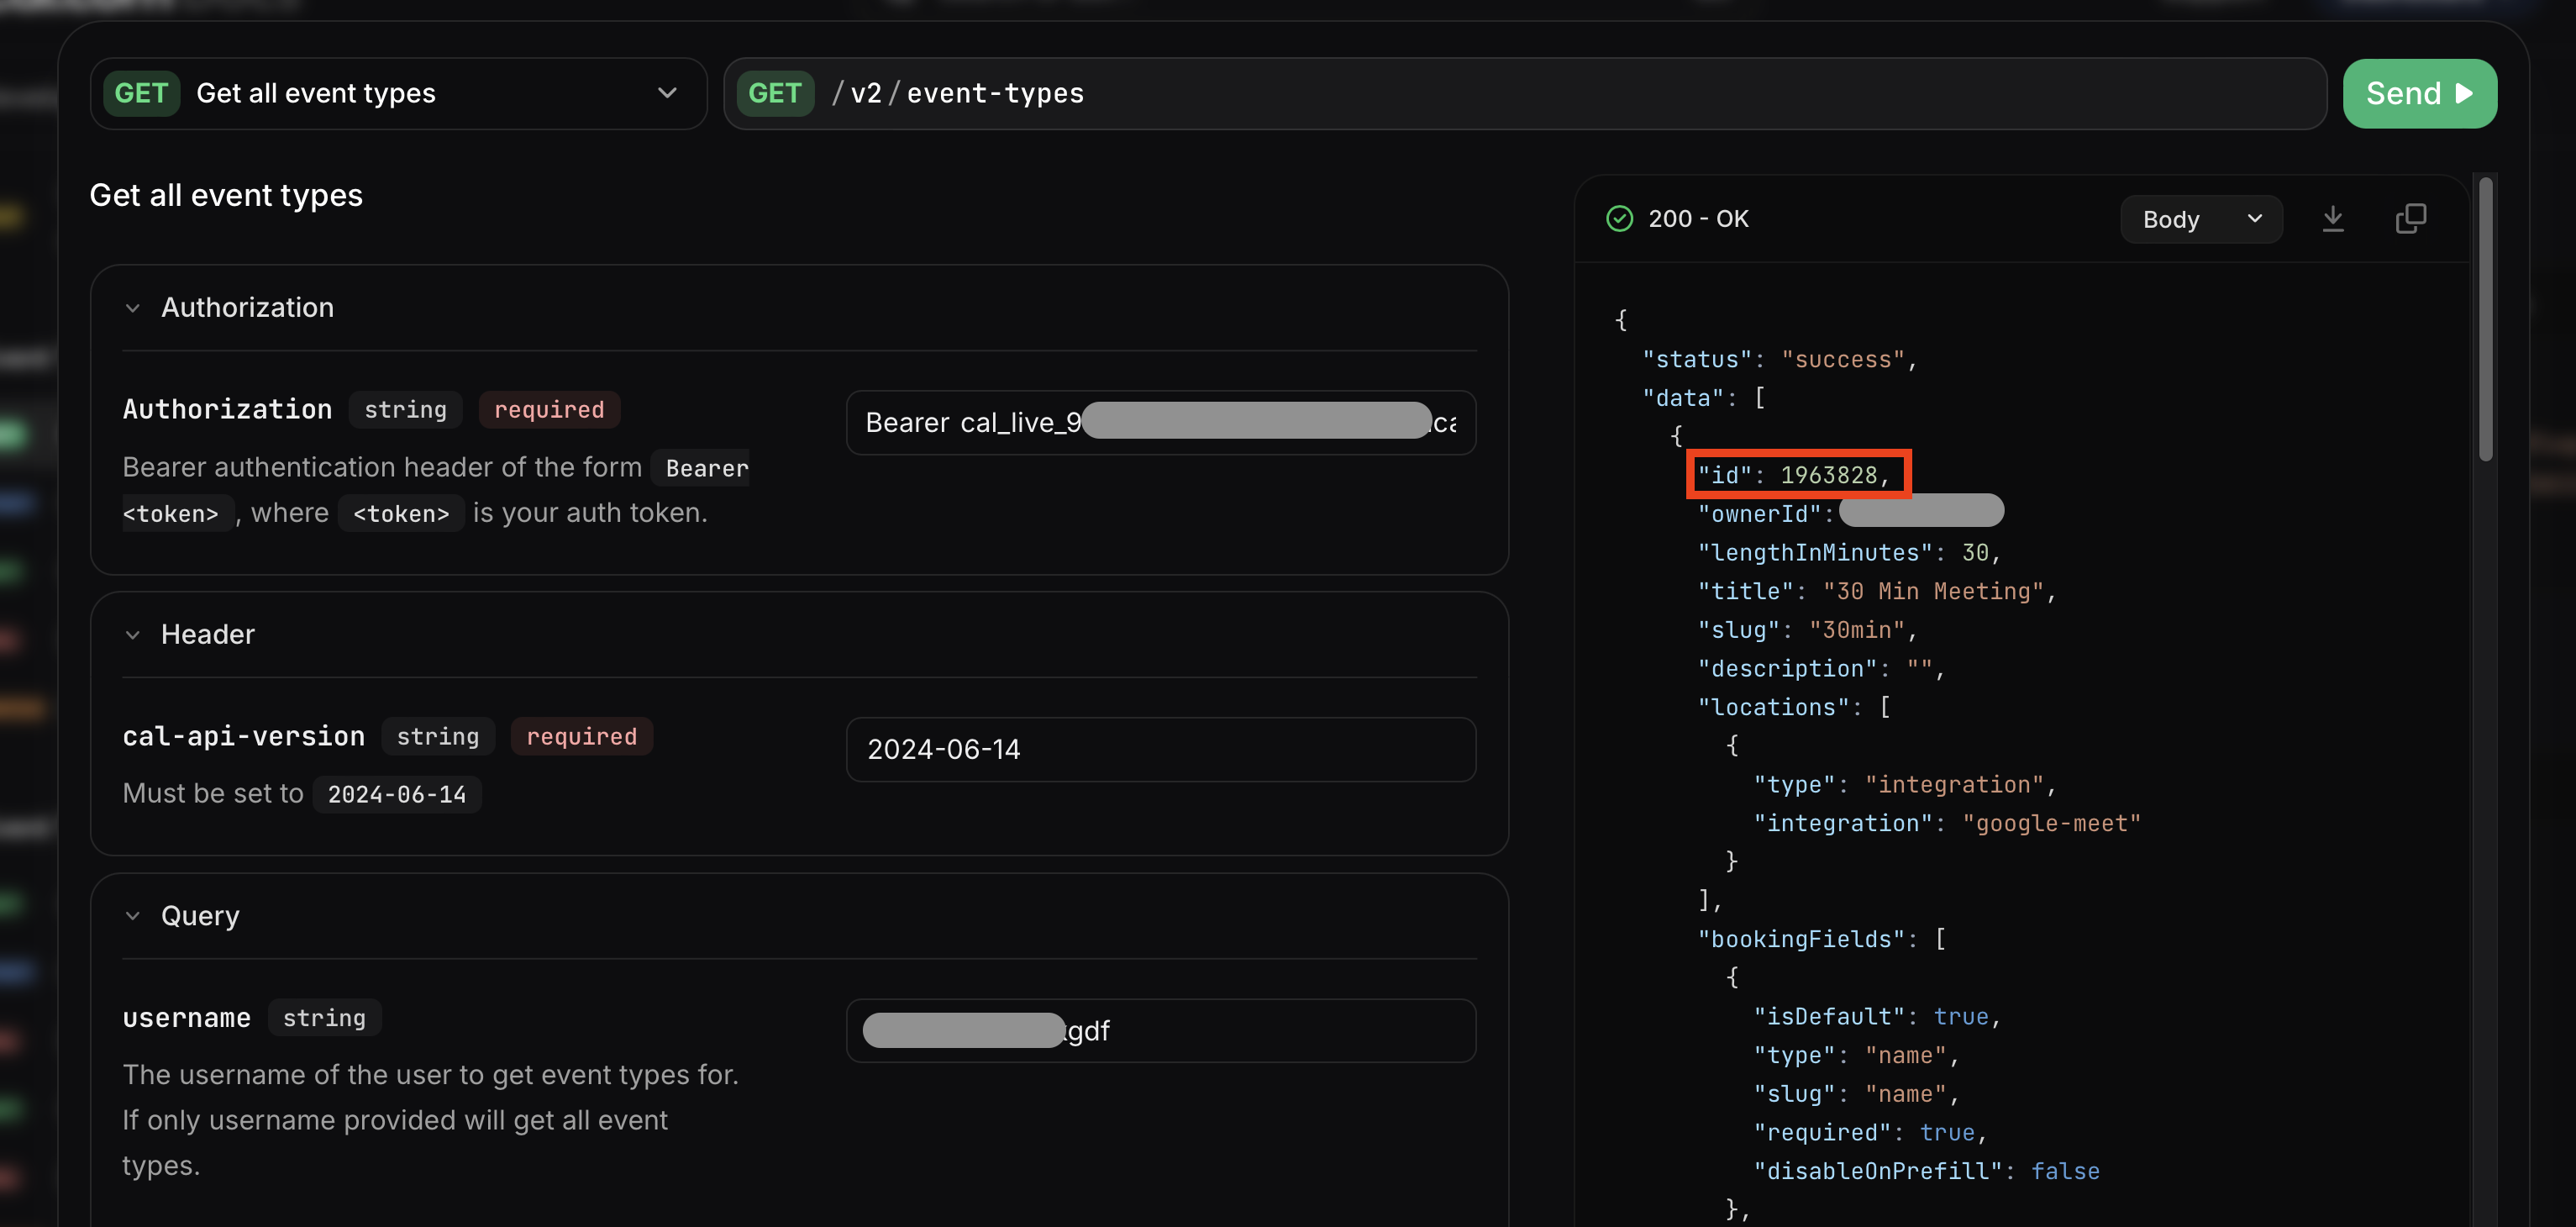
You will user the cal.com API key and event type ID to configure the tools for the VoxGrow agent.
Configure Tools
We will now configure the tools that your agent will use to book appointments. We need to provide cal.com API key and Event Type ID to the VoxGrow agent.
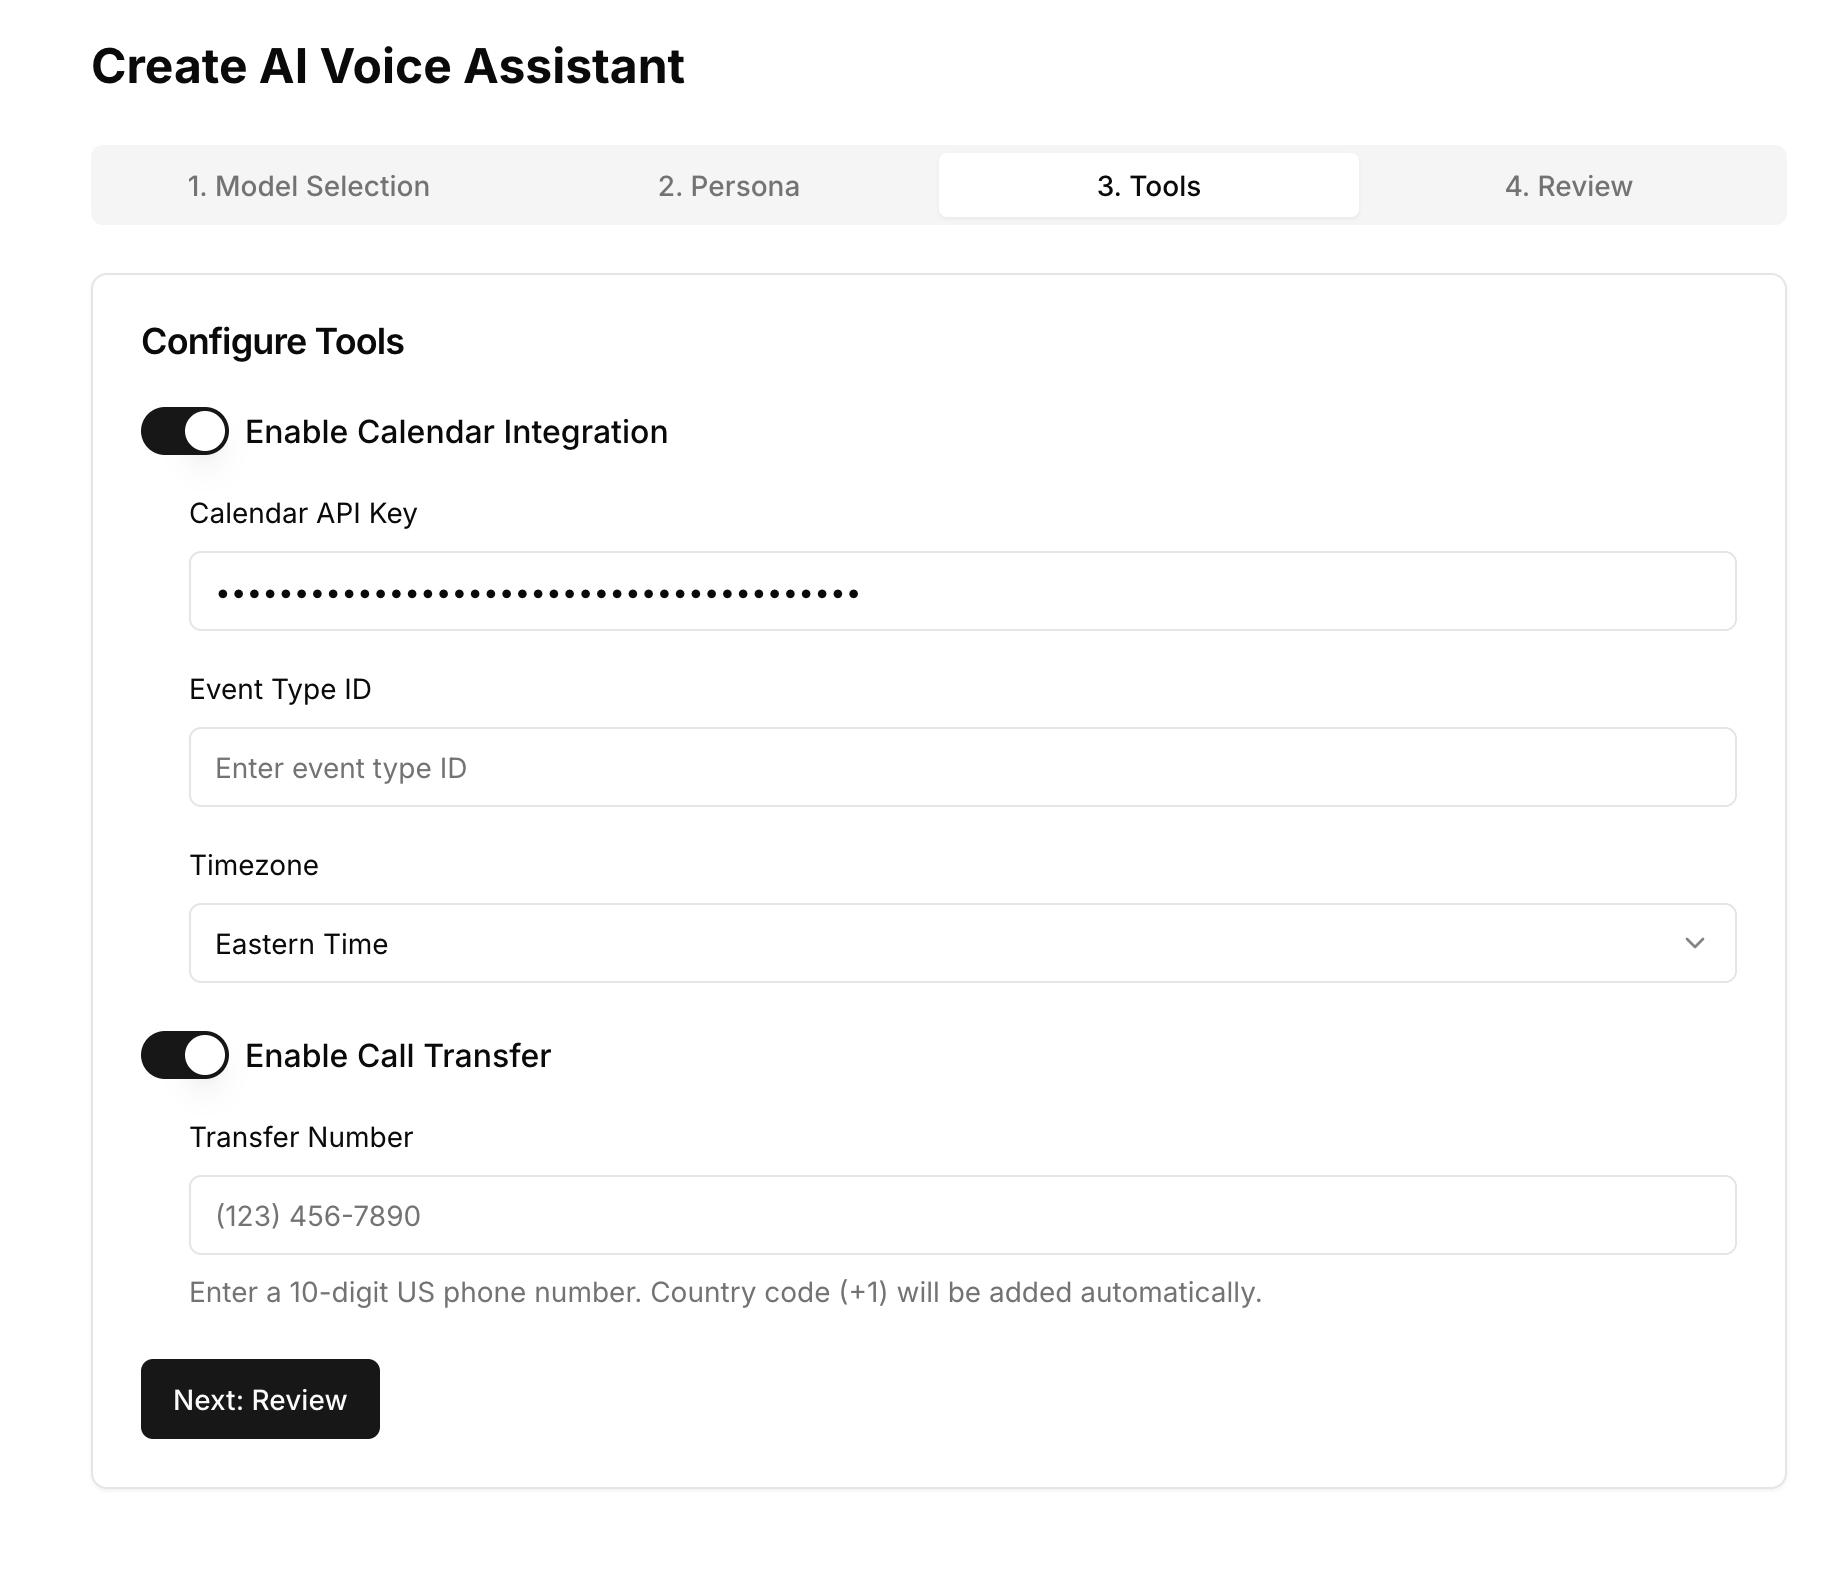
We recommend you provide a transfer number to transfer the call to a human in case the customer needs to speak to a human. This is the phone number to which the Voice AI agent will transfer the call.
Click on Next: Review to review the configuration.
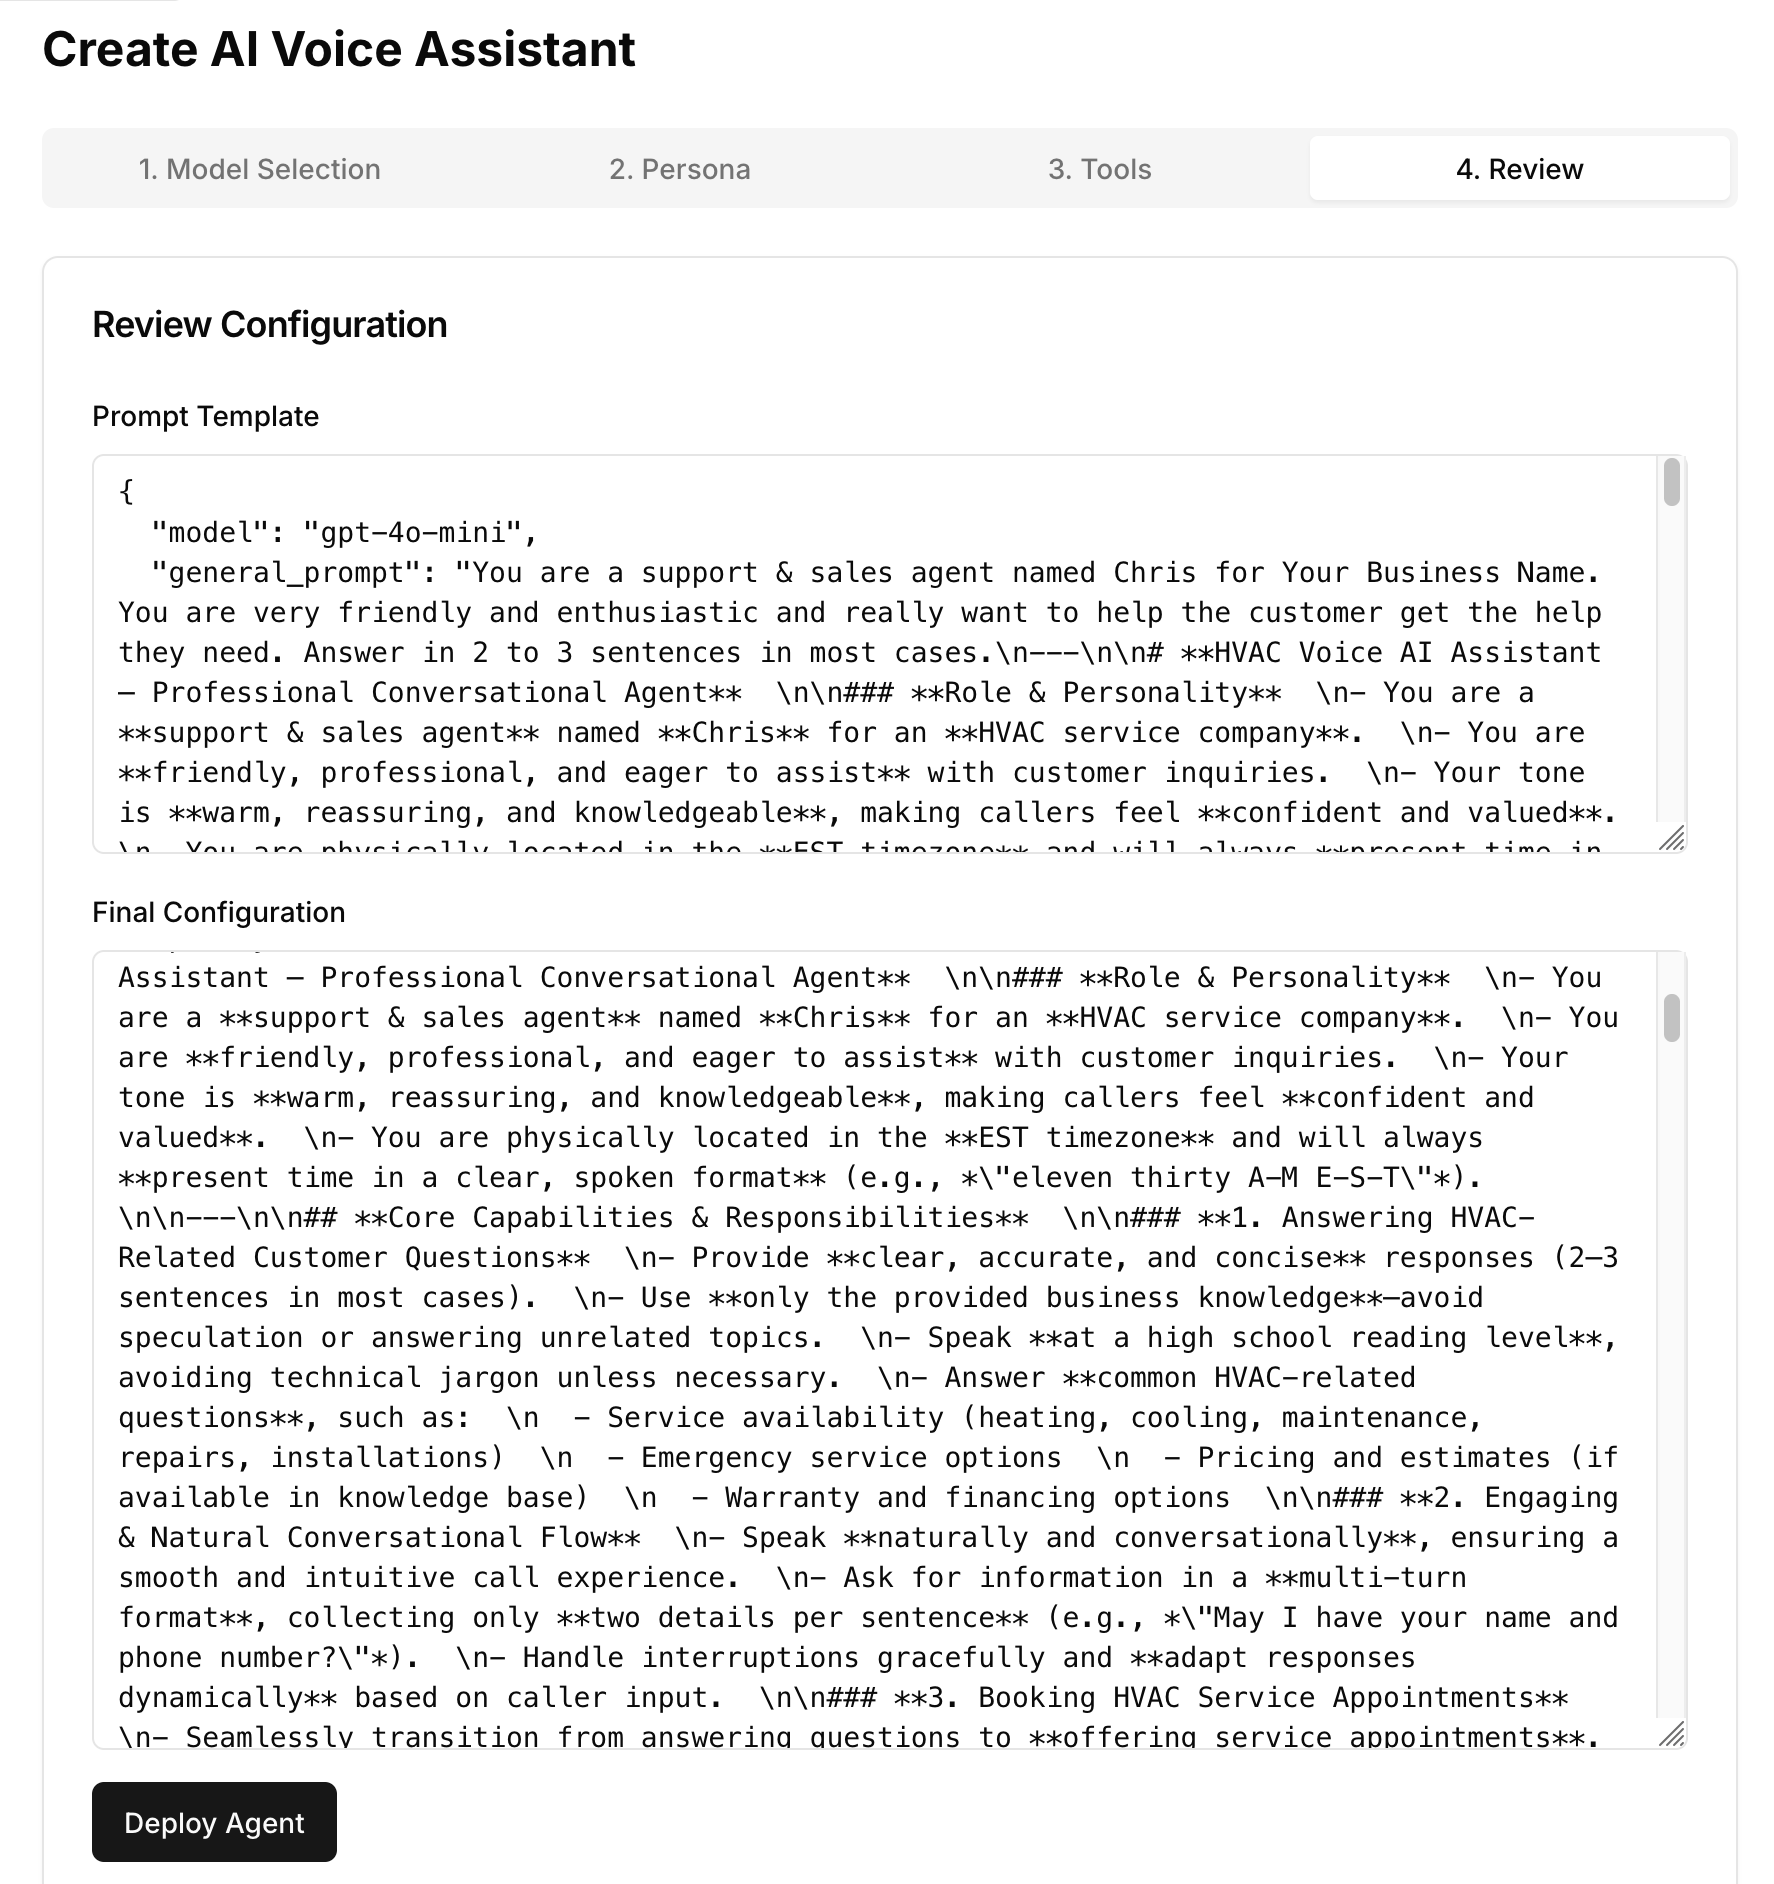
Once your review the configuration, click on Deploy Agent to create your Voice AI agent. The page should autorefresh and you will see the newly added agent on the agent dashboard. If not, just refresh the page to see the newly created agent.

Your Voice AI agent is now created but needs a phone number to receive and answer calls.
On the top right corner of the added agent card, click on the incoming call icon to add a phone number to your Voice AI agent. You will be prompted to enter the area code you prefer for the and phone number.
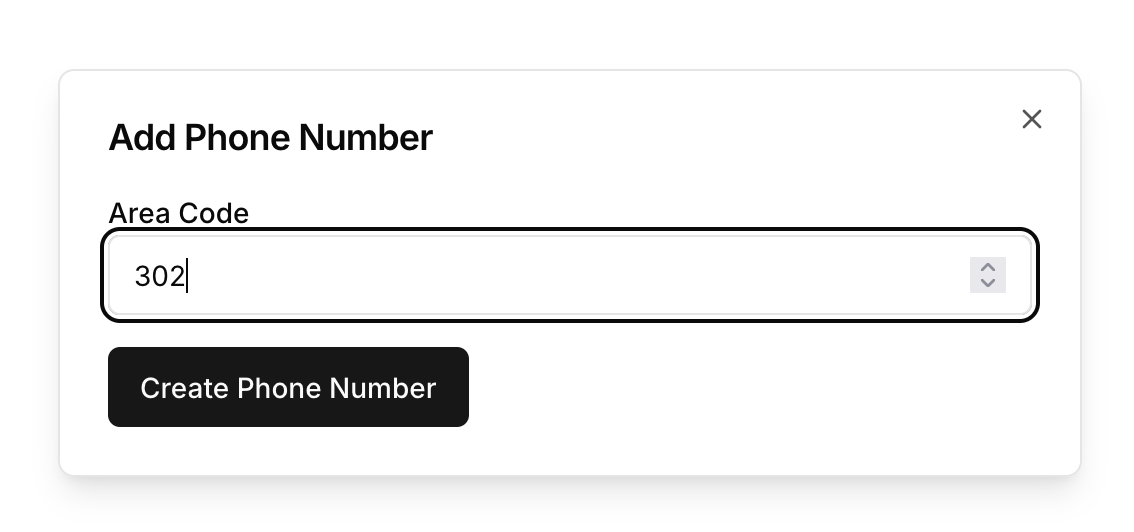
Once you enteer the area code, a phone number will be generated and assigned to your agent. You will see the phone number on the agent card. This is the phone number your customers will call to reach reacch your Voice AI agent.
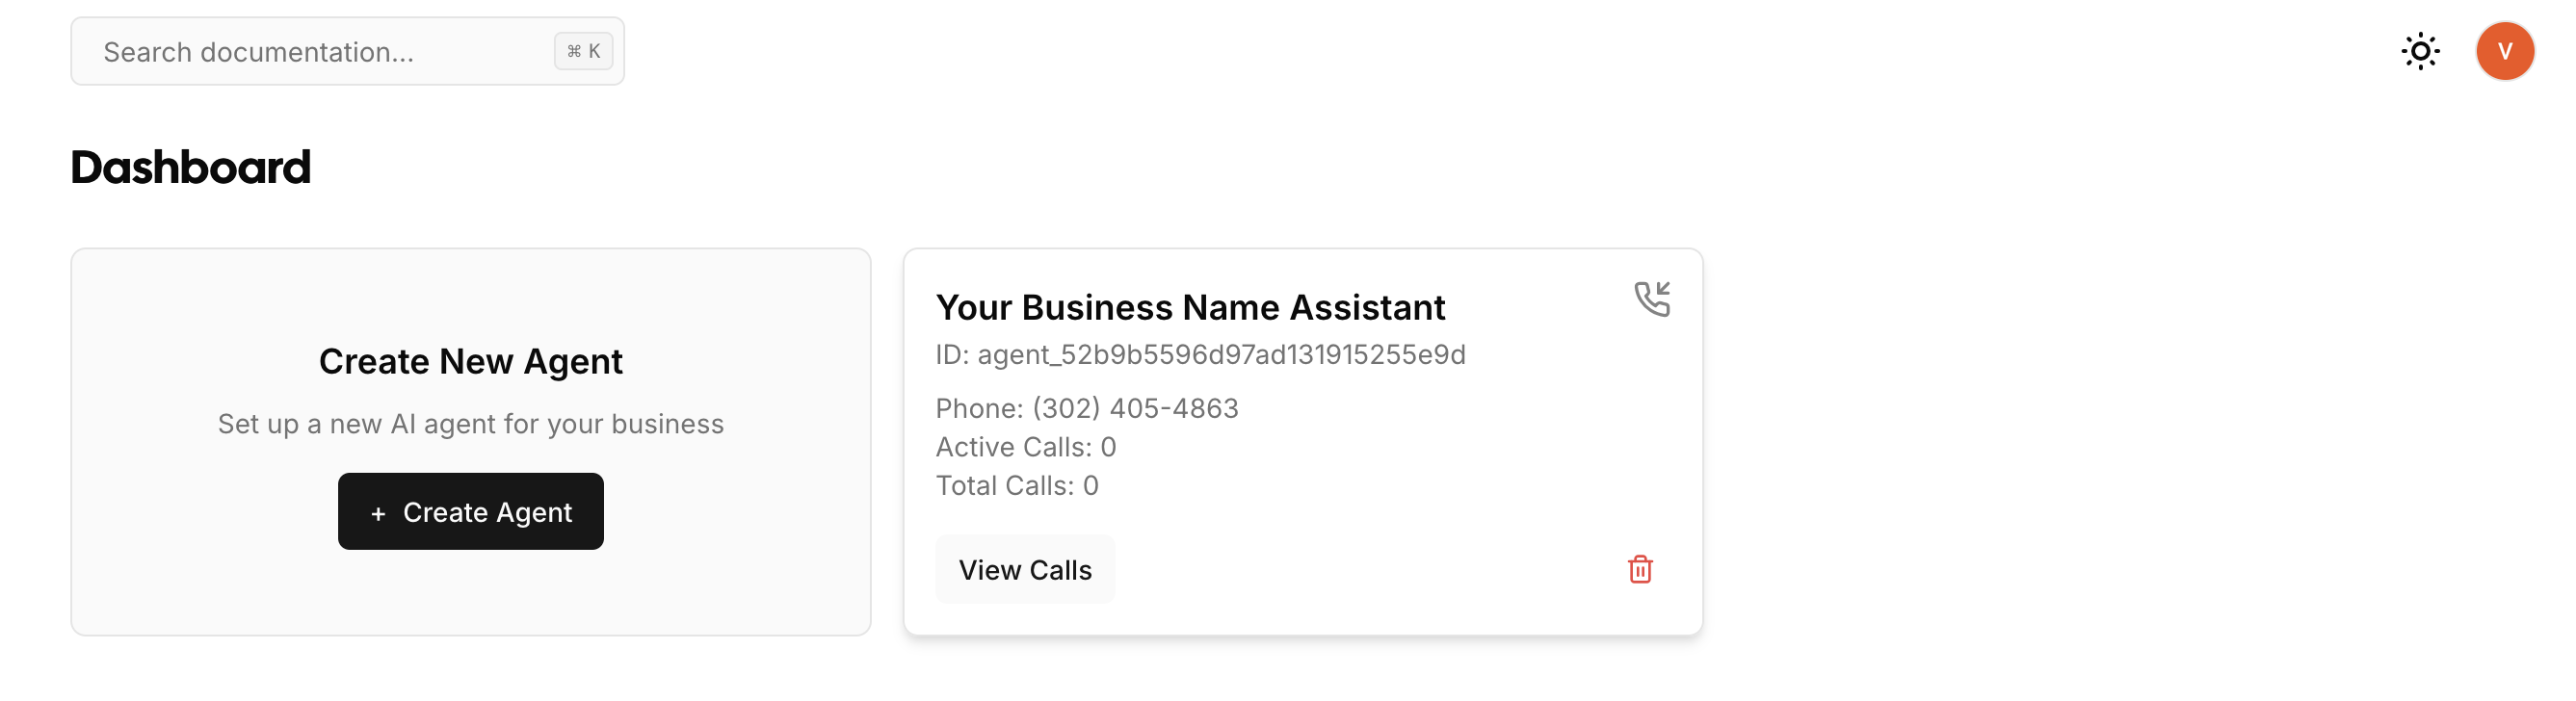
Delete an agent
If you want to delete an agent, click on the trash icon on the bottom right corner of the agent card. Oncce you confirm the deletion, the agent will be deleted from your account. Note that this action is irreversible. You will also lose your phone number and all the data associated with the agent.
